How it plays

What there is to do

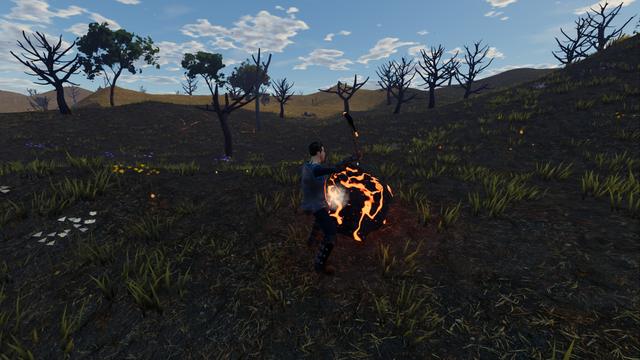
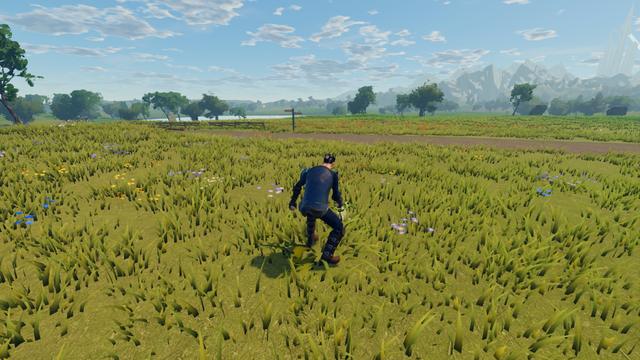
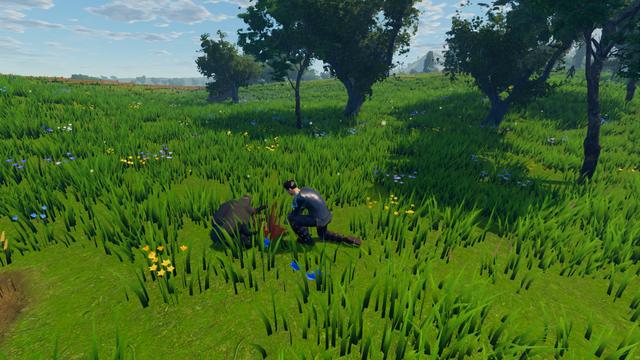
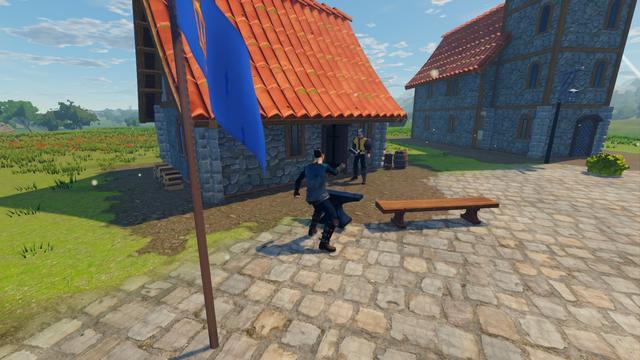
Combat, loot, dungeons, the endgame, battlegrounds, group play and a life outside the fight.

The guide's first quest
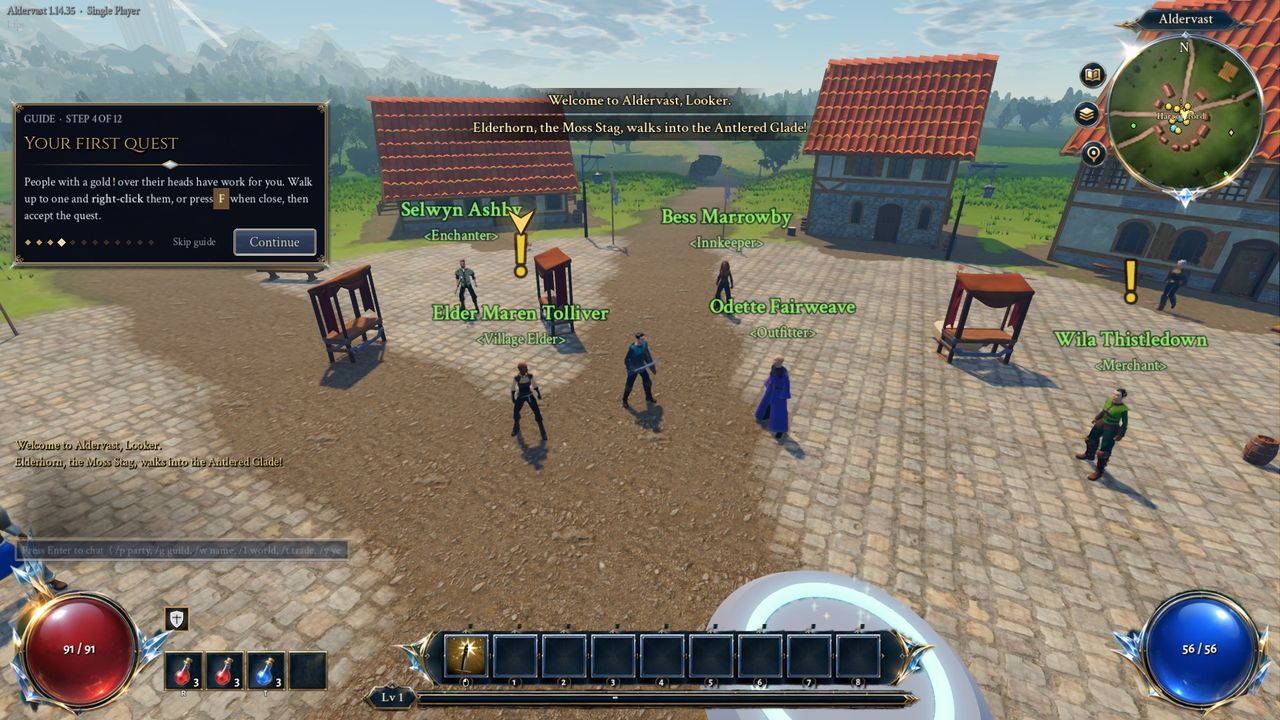
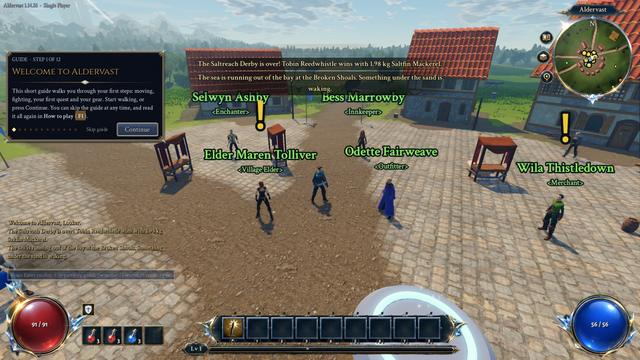
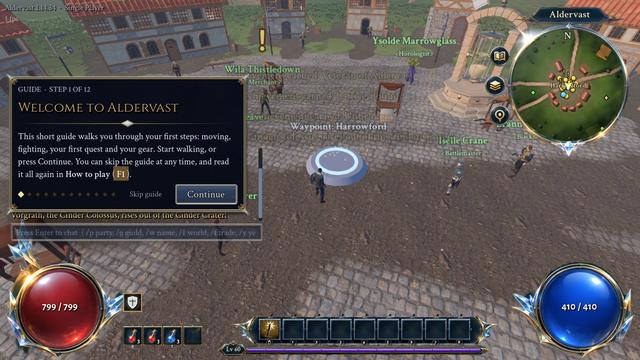
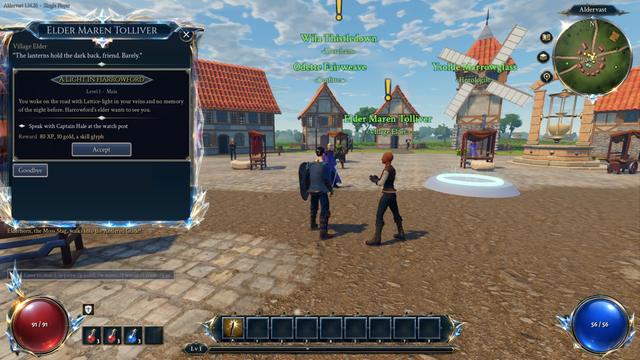
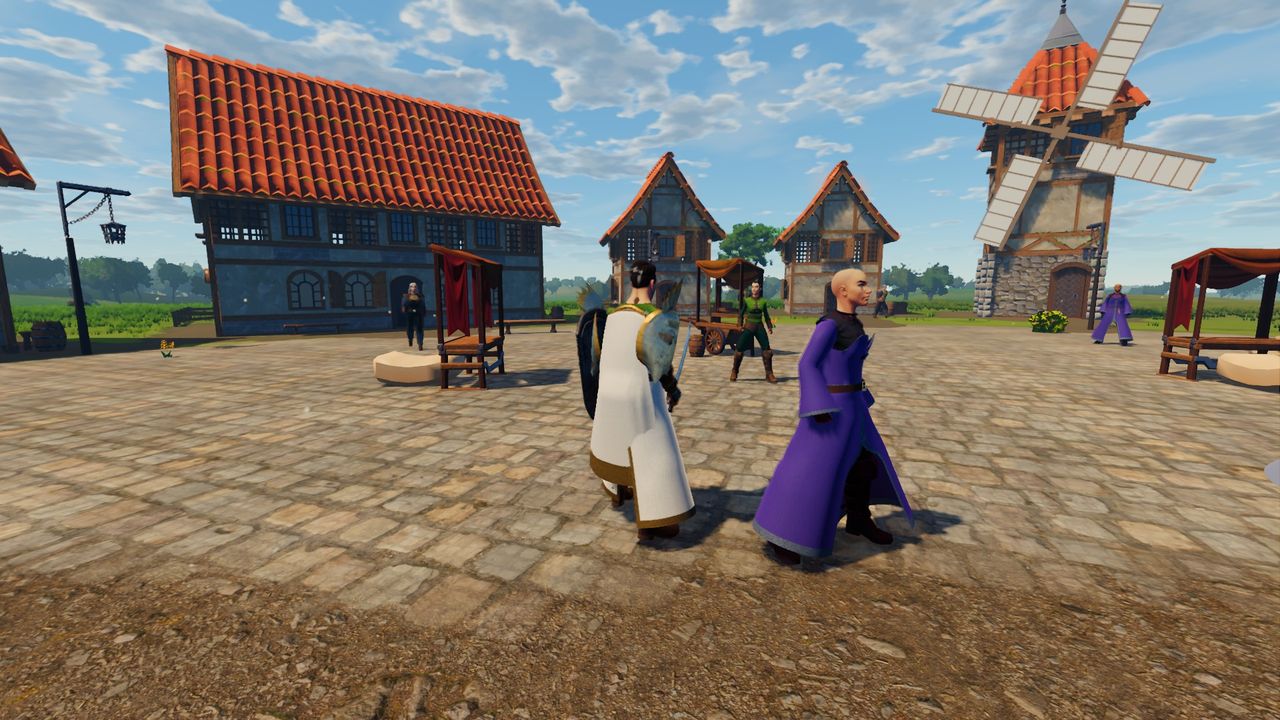
The new-player guide in Harrowford: its card at the top left with the step's key caps, and the gold arrow over Elder Maren Tolliver, who has a quest to give.
New to Aldervast

A guide for the first steps

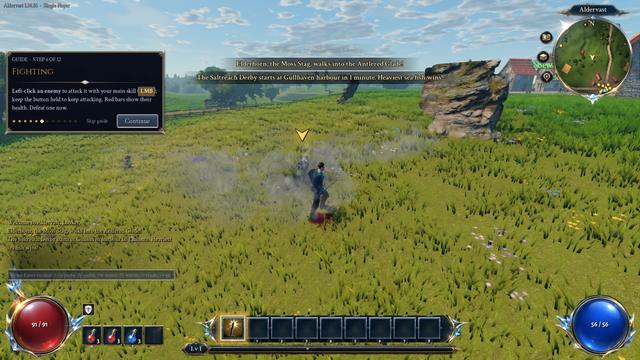
A new character is walked through the first steps by a guide on a card at the top left: moving, turning the camera, taking the first quest and following it, fighting, using skills, picking up loot, putting on gear, drinking potions and growing stronger. Each step passes when you do it, or with Continue, and the whole guide can be skipped. A gold arrow bobs over whoever the step is about (the quest giver, the next person a quest needs, the nearest enemy, the loot), the part of the screen the step names glows, and every key is shown as your own binding.

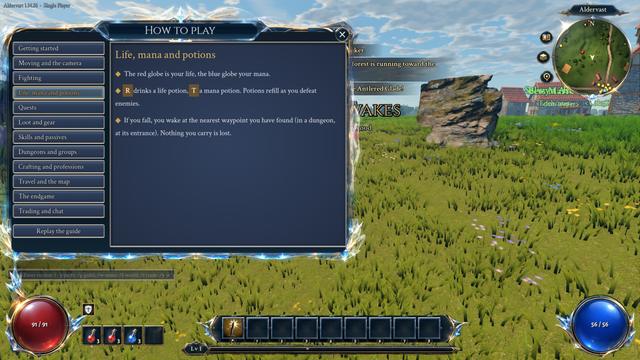
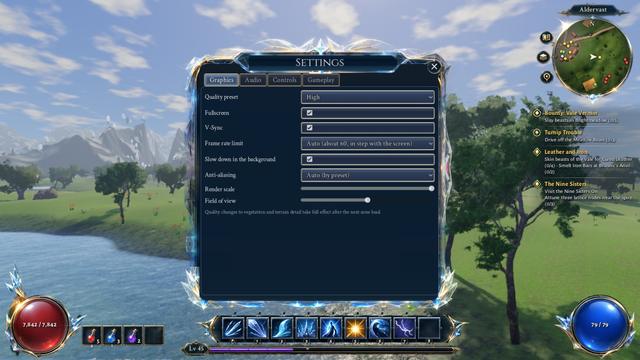
After that, a short tip explains each bigger system the first time it turns up: a dungeon, a level's passive point, a fall, a trader, crafting, waypoints, a mount, a group invite, gathering, the stash, the endgame and a new skill. How to play (F1) explains the game topic by topic and can start the guide again, and Settings can turn the guide and tips off. By default the frame rate follows your screen, about 60 a second, and drops to 15 while the game is not the window in front, to save power; both are under Settings, Graphics.

The first fights are forgiving. The packs round Harrowford are level 1 or 2 and only two or three strong, young monsters have less life and hit softer, life and mana refill in about ten seconds once a fight is over, and a hero who falls rises with full phials. The gear each class starts with asks for nothing, so it can always go back on.

Getting started in the wiki, with the default keys

How to play
How to play
The guide's fighting step
Where to go on the world map
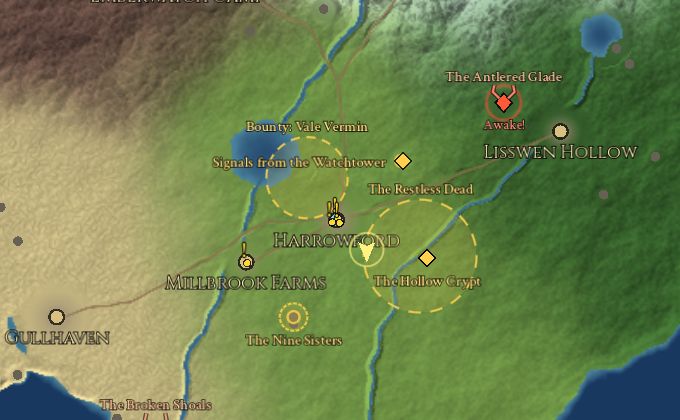
The world map round Harrowford with five quests followed: gold rings for their places, diamonds for single spots and the crypt's door, and the givers' "!" wherever they stand.
Quests

Always know where to go

Every goal of every quest has a place in the world, worked out by the game from where things really are: the person you are to speak to where your story has put them, the hunting ground where the monsters you need live at about the quest's level, a dungeon's door, or the spot or stretch where the things you are to find lie.

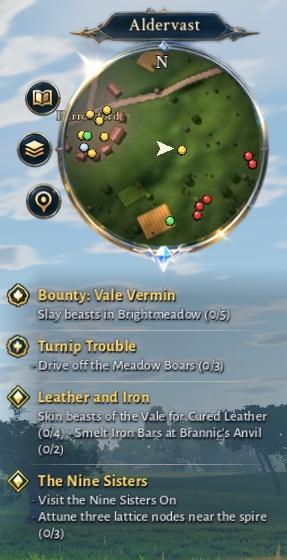
The minimap shades each followed goal's place in soft gold with a dashed rim, or marks a single spot with a gold diamond, and a goal beyond its edge sits on the rim as an arrow pointing the way. The world map rings the places with each quest's name, and everyone with a quest for you, or waiting for one you have finished, shows a gold “!” or “?” on both maps wherever they are. Under each quest the tracker gives the place and how far it is, such as “Rootdeep Warrens · 130 m SE”, and the journal does the same for every open goal.

From level 1 to 32 the quests of each level carry about half of the experience to the next quest's level (story quests more, dailies less), so a hero who does every quest keeps up with the story.

Every quest's steps and where to go, in the wiki's guides

Movement skills
Lattice Step, Shadow Step and a leap slam.
Combat

Fast, readable fights

Click to move or use the keyboard, and fire skills from the action bar. Monsters come in packs with roles (chargers, casters, brutes, archers) and some roll affixes that make them faster, tougher or meaner. Bosses change phase as their life falls, call for help, and telegraph their biggest attacks on the floor so you can step out of the way.

Damage comes in physical, fire, cold, lightning and chaos, each with its own ailments: ignite, chill and freeze, shock, bleeding and poison. Armour, evasion, ward, block and resistances each answer a different threat.

  • Melee, projectiles, chains, novas, cones and targeted areas
  • Minions, totems, traps, auras, curses and warcries
  • Charges (Bulwark, Fervor, Insight), leech and life on hit

Buffs and ailments in the wiki

Warcries
Warcries
Hexes, summons and auras
Traps going off
Traps going off
Spell effects
Spell effects
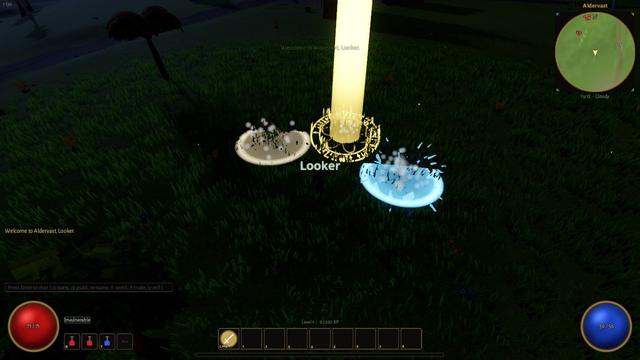
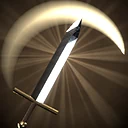
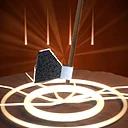
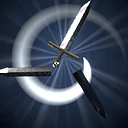
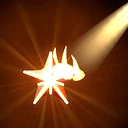
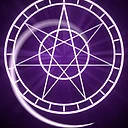
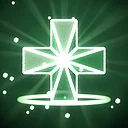
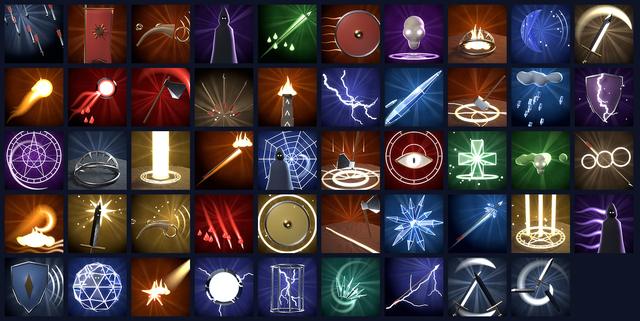
Cleaving StrikeLeap SlamWhirling BladesShield BashArrow SquallShadow StepRime ShotEmber BoltGlacial LanceForked ArcStorm OrbStarfallHex of UnravellingCall the HollowMending Light

A few of the 49 skill icons, each a small 3D scene lit and rendered for its skill in a palette of its own. Each one opens its entry in the wiki.

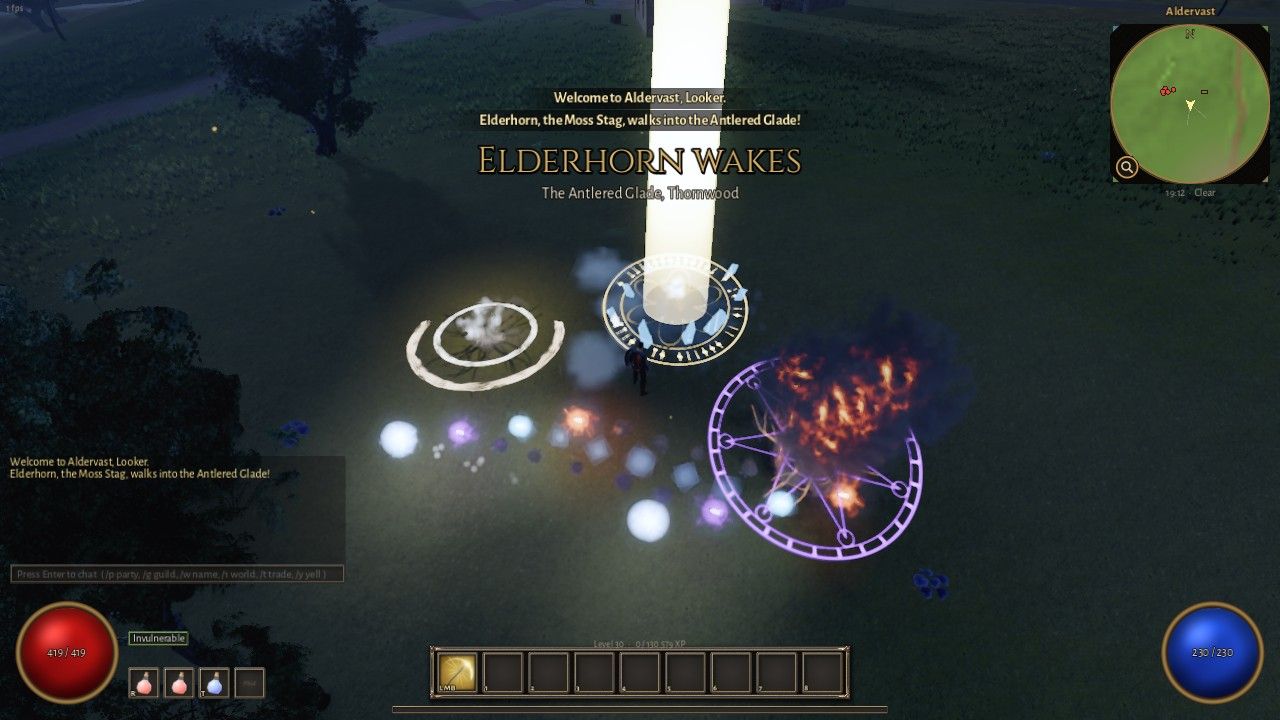
Spells in the world
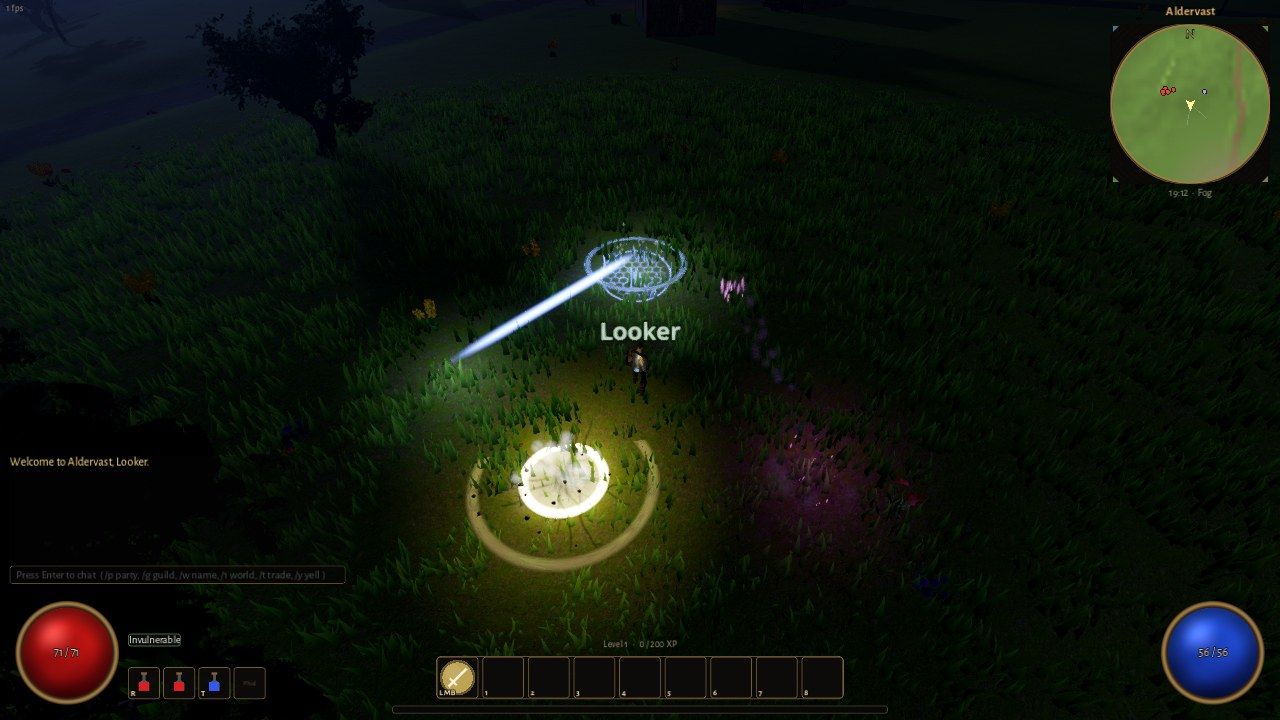
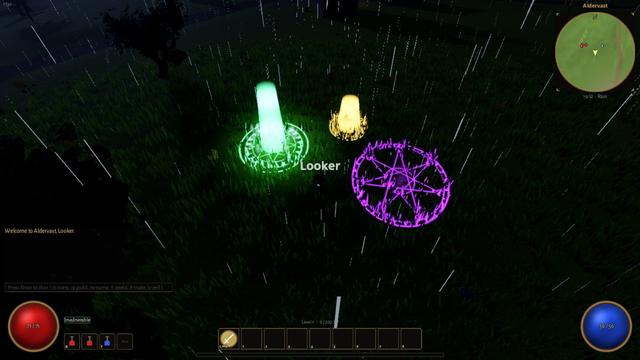
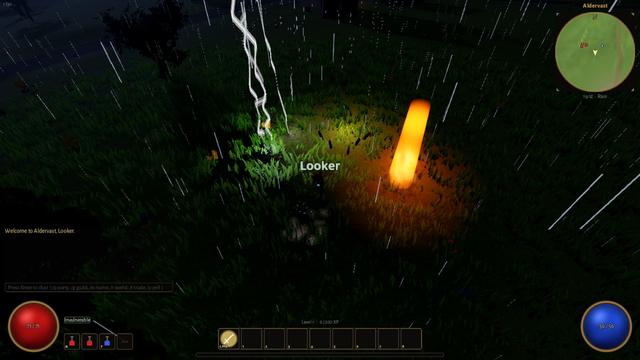
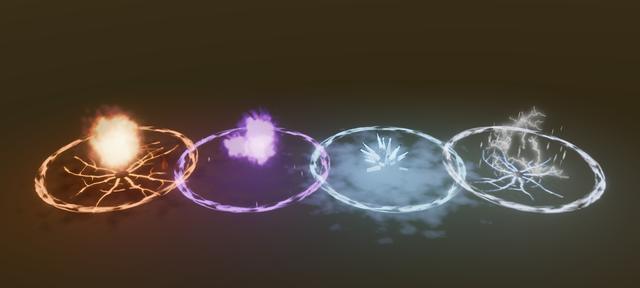
Effects cast on the grass of the Thornwood at night: a rune circle and shockwave rings on the ground, chaos and fire bursting inside a violet ring, frost and lightning sparks.
Effects

Spells with weight

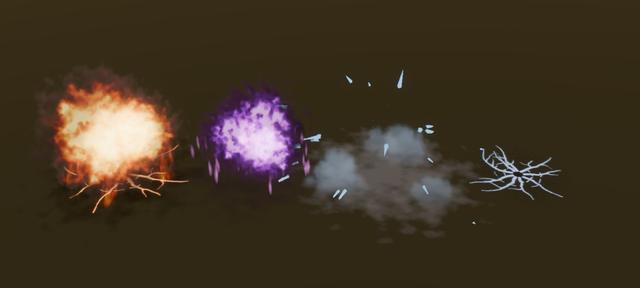
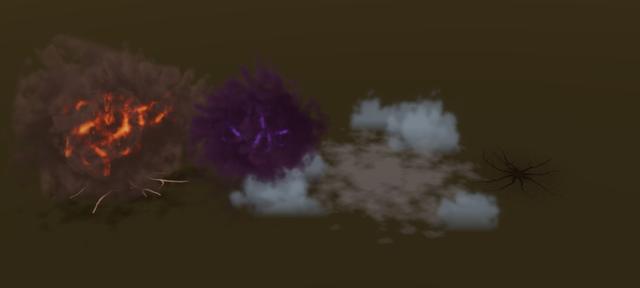
Skill and spell effects are built in layers, so each has a body, a light and an aftermath rather than a single flash. A fireball swells, cools from the outside in and rolls over into smoke lit by its own flash, with tongues of flame licking up after it, embers, and for a big blast, cracks splitting the ground that glow and cool. Chaos rolls the same way in violet into dark smoke, cold leaves a low frost haze round its shards, lightning crackles with branching arcs, and a heavy physical blow throws dust out in a ring.

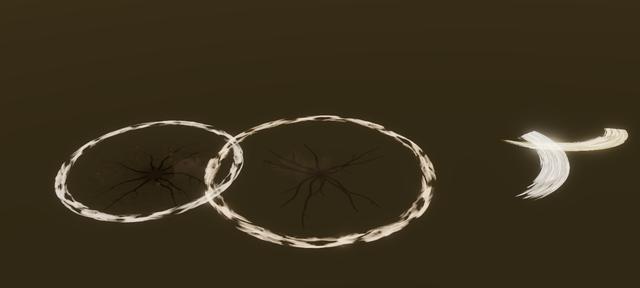
Rings are shockwaves with a torn, burning edge that races out and is eaten away. Every melee swing leaves a streaked swoosh, bright at its leading edge, and a slam adds the shockwave and the dust. Fire, chaos and holy bolts fly as a flickering head of flame with a comet's tail, frost bolts trail mist and lightning bolts crackle. Burning ground cracks open and glows under standing flames, chilled ground breathes frost mist, and shocked ground crackles.

Everything behind it is made for the game: the smoke, fireball, flame and spark flipbooks are rendered from a tiling 3D noise volume and drawn by three new shaders, so fire burns through a heat ramp in its element's colours and smoke is lit by the lights around it. Effects are warmed up behind the loading screen, and the Low graphics preset leaves the extra layers out.

Every skill in the wiki

Fire, chaos, frost and lightning
A blast cooling into smoke
Shockwave rings
Shockwave rings
A slam and a swing
A slam and a swing
Blows that land
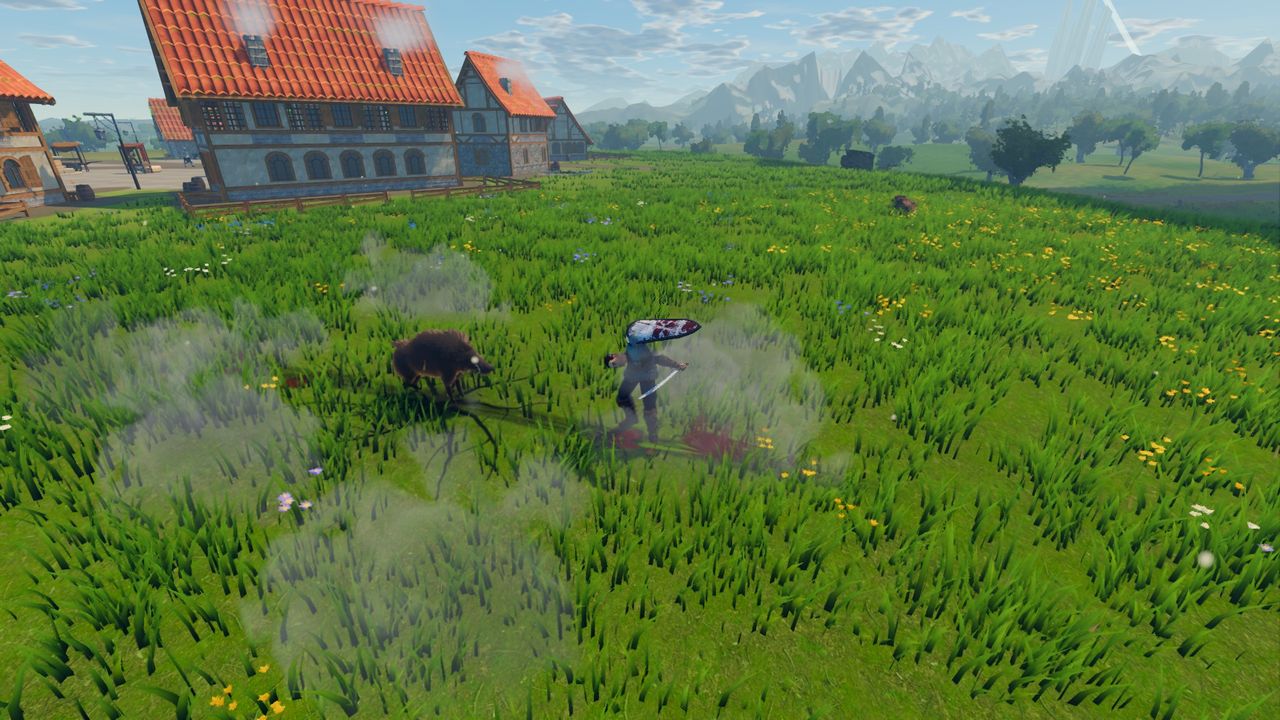
A hero fighting a Meadow Boar outside Harrowford: the boar knocked back by the blow, with blood splashed on the grass under it.
Combat

Blows that land

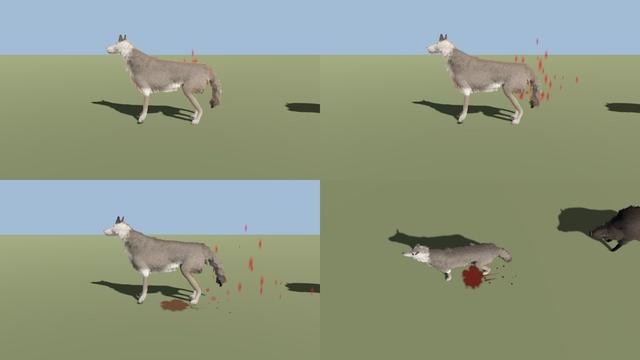
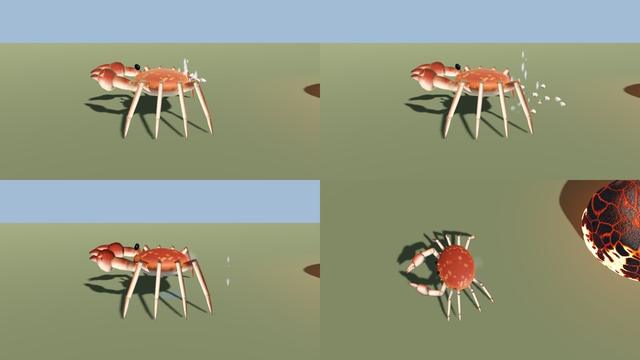
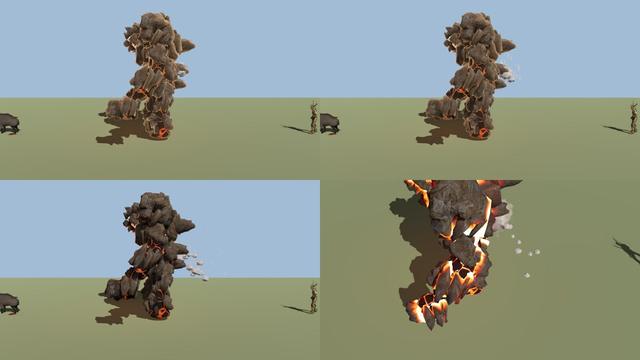
Every creature lights up round its outline for a moment in the colour of the blow that struck it. Beasts and critters are knocked back as if on springs, whatever they were doing: the spine bends away from the blow, the head snaps back, and tails, ears, antennae and tentacles swing through after before they settle. People flinch on their own layered animation.

A physical blow throws out what the body is made of, from its far side and in proportion to its size: blood from beasts, birds and folk, yellow-green ichor from wasps and moths, pale ichor and chips of shell from crabs, gel from oozes in their own colour, glowing drops and embers from the magma ooze, glints from glass and crystal, stone chips from golems, grave dust from the Hollow, cold light from the spectral dead, amber sap and bark from the tree folk, glowing spores from the mushroom folk, pale motes of loose thread from the woven things of the Selvage and the far side, and frost and powder snow from the Carded and the frost-woven. Drops that land splash the ground, their streaks pointing away from the blow, and soak in; a body that falls leaves a pool spreading under it. Weapons strike sparks only from stone, glass and crystal.

The Meadow Boar has been rebuilt with a flat disc of a snout, bigger tusks, tall ears and a mane of bristles along its neck and back, and the tree folk now stand on roots spreading over their feet.

What each creature spills, in the Bestiary

A wolf struck
A wolf struck
A crab struck
A crab struck
A golem struck
A golem struck
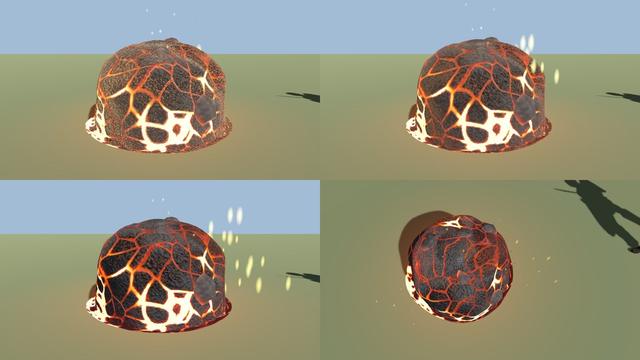
A magma ooze struck
A magma ooze struck
The interface
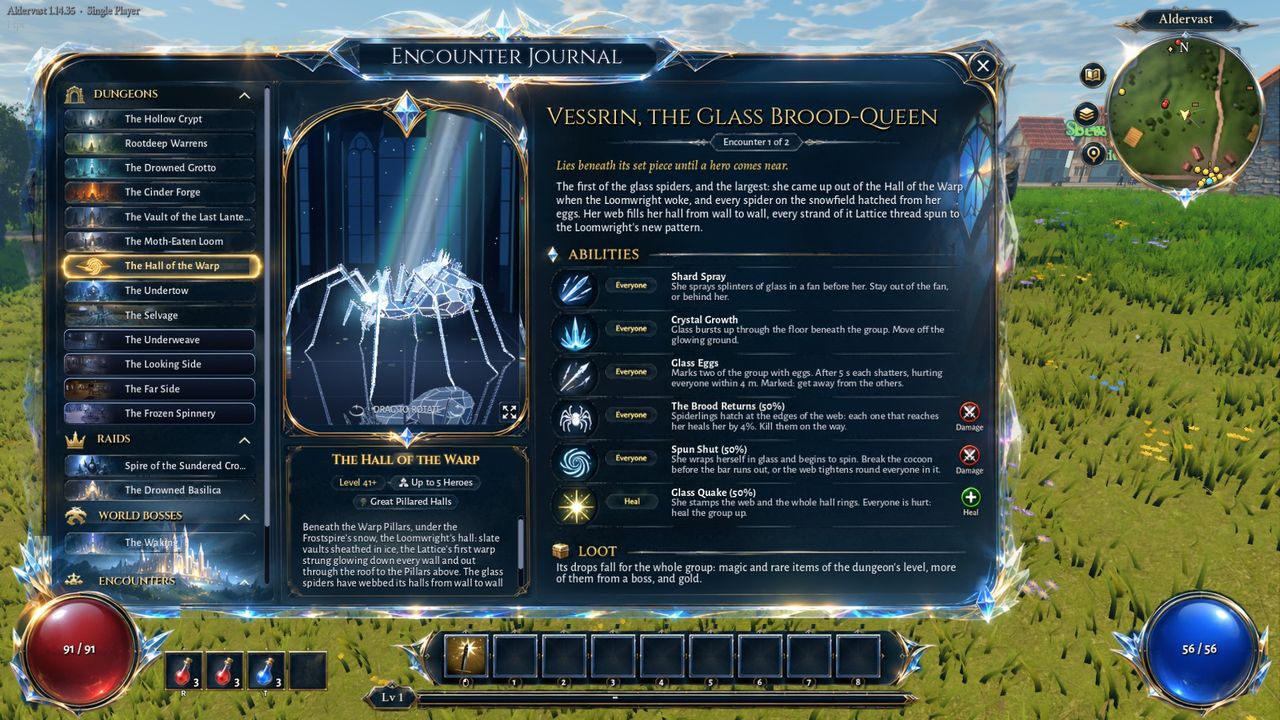
The Encounter Journal open at the Hall of the Warp over the meadow, with the whole HUD round it, all cut from the painted design of the screen: the globes in their silver claws, the flasks, the nine-slot skill bar with its crystal wings, the minimap's ring over the painted world map, and the quest tracker's emblems.
Interface

Glass, silver and meters you can read

The interface is cut from a painting. A design of the whole screen was painted for the game, and its frames, globes, flasks, skill bar, minimap ring and journal were cut out of it piece by piece, lifted off the meadow behind them and cleaned of every word, so the game can write its own names and numbers on them. Every window wears the journal's frame: dark navy glass in a rim of cut crystal between gold lines, clusters of crystals bursting from its corners, and its name in silver-white capitals on a pointed plate under a crest of cut gems, the frame scaled down for narrow windows. Tooltips, cards, buttons and slots are the same glass and silver; item tooltips have a header band in the rarity's colour, skills, passive nodes and quests each get a card of their own, and the close button is a round glass boss with a silver cross.

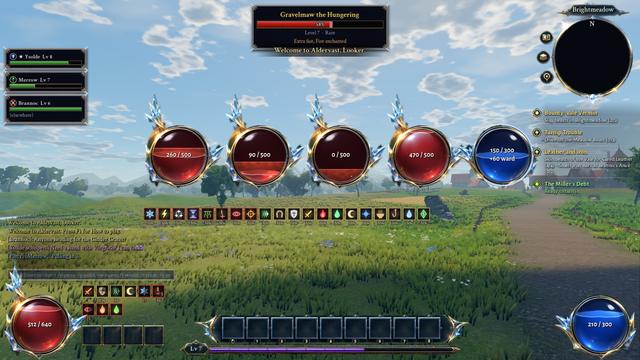
The life and mana globes are the painting's own glass and liquid, set in silver rings and held in faceted silver claws with blades of blue cut glass. The liquid falls with your life and mana and leaves the glass above it smoked dark, the life just lost hangs for a moment as a pale ghost before it drains away, at low life the globe beats like a heart, and a ward shows as a pale arc round the ring.

The skill bar with its crystal wings, the experience rail and the plate for your level come from the painting too, with a ninth slot added, and so do the flask slots beside the life globe, drawn at the painting's own pixel size so their fine rims stay crisp: round glass flasks in red, blue and violet, each filled to the charges it has left, with the quick-drink keys lettered under the first two. The minimap's ring with its glints, gem and crystal, the zone's plate and the three round glass buttons beside it are cut from the painting as well. Inside the ring is a painted map of the whole overworld at a metre to the pixel, made from the world itself: the hills shaded, roads with verges, fields in stripes, water deepening from its banks, every tree, bush and boulder a crown with its shadow, and the towns' roofs, tinted to the painting's olive green. The quest tracker's four emblems (a bounty, a quest, a story quest and one ready to hand in) are the painting's, and its names and lines are spaced to match it.

Each buff and ailment is a small lit tile with a glyph of its own (a flake for chilled, a bolt for shocked, roots, a shield, an hourglass), a sweep for the time gone and the seconds left, boons first on a gilt rim and harms after them on a red one. The target, party and raid frames have life bars with a bright leading edge, a tick at every tenth and the same pale ghost of a hit, and a monster's affixes get a line of their own.

The interface is sized by the screen's height on every shape of screen, from 4:3 to ultrawide, and names over heads are drawn at your screen's own resolution, so they stay sharp at 4K. Windows fit what they hold, the smallest text anywhere is size 13, and scroll bars are wide enough to see. Settings has a few aids under Gameplay. The interface scales from 0.75 to 1.5 on top of that and changes when you let go of the slider; a window too big for the screen is drawn smaller to fit, and at the larger scales the phials, skill bar and level plate shrink to fit between the globes. Reduce flashing dims lightning, bursts of light from spells and the flash of a struck creature to a third. Colour-blind mode corrects the whole picture for protanopia, deuteranopia or tritanopia, moving the colours you can't tell apart into ones you can. High-contrast markers draw quest marks, nameplates and the minimap's pins larger with a solid black edge, and quest marks show through walls.

Accessibility settings in the wiki

Talking to Tobin Greaves
High-contrast markers
Colour-blind mode
Colour-blind mode
The largest interface scale
The globes and the skill bar
A window in the journal's frame
Skill and ability icons
The HUD in 0.96.0
The HUD in 0.96.0
An item's card
A sword's tooltip at a merchant's, with the comparison and the sale price at its foot.
Loot

Items worth looking at

Drops roll a rarity, random affixes and sockets on one of 273 bases. Magic items carry up to two affixes, rares up to six; 51 unique items and 16 sets have fixed properties of their own. Item level decides the best affix tier a drop can roll.

Crafting uses shards rather than gold: a Tinker's Shard makes a normal item magic, a Sovereign Shard makes it rare, a Purging Shard wipes it clean, and essences reroll an item with a guaranteed property. Enchanters can imbue a crafted property, and a loot filter keeps the clutter down.

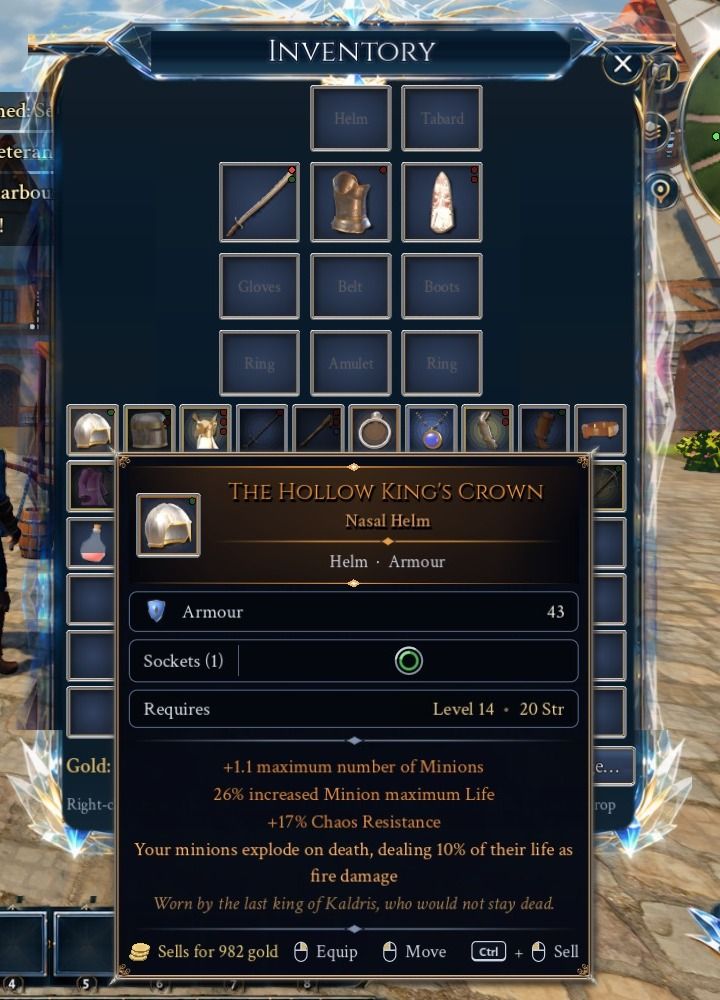
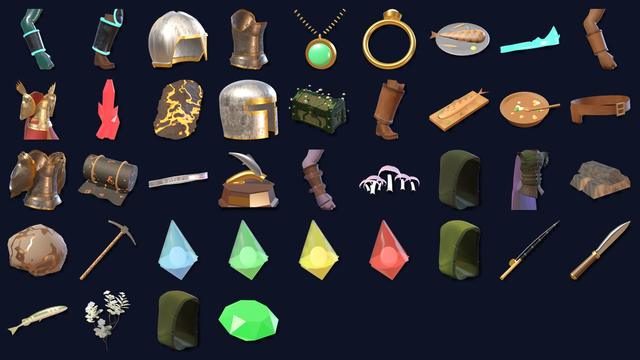
Each item's icon is rendered from its own 3D model, so the helm in your bags is the helm on your head, and a phial's icon drains as you use its charges.

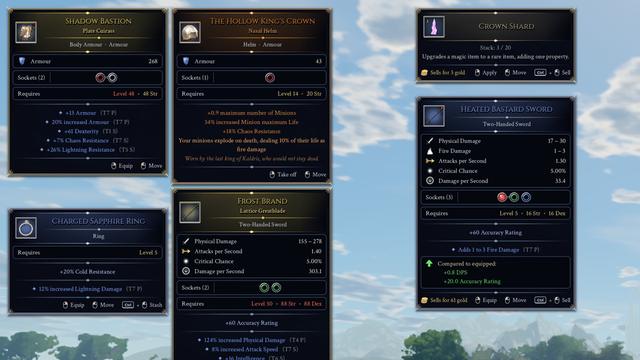
A tooltip is a card in the same glass and silver as the windows. Under the item's picture, name and rarity, its numbers sit in rows beside small icons, damage per second included. Sockets show as jewels in their colours, faceted where a glyph sits and joined by a bar where linked, and a row of requirements shows in red anything you still lack. The implicit and affixes sit between fine rules, each affix with its tier dimmed after it; a panel compares the piece with what you wear, with an arrow up or down; and the foot says what each mouse button does and what a merchant will pay. Added damage reads as one line, such as “Adds 1 to 3 Fire Damage”.

Base items, uniques, sets and affixes

Tooltips side by side
Item icons
Item icons
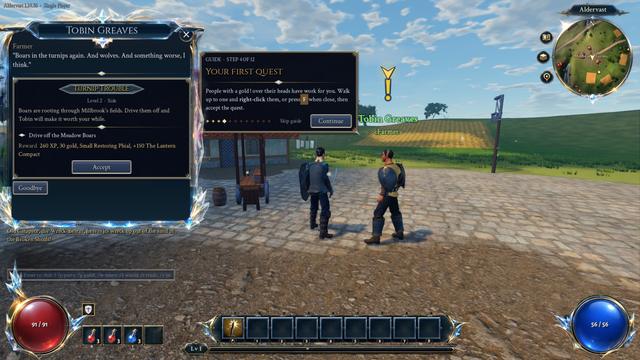
A quest from Elder Maren
Swarmcaller
Swarmcaller
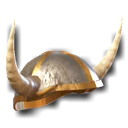
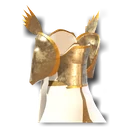
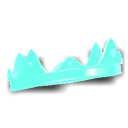
Horned HelmTemplar PlateLattice CrownTitan GauntletsOath SabatonsRusty GreatswordHatchetGnarled StaffCrude CrossbowHide BucklerRuby RingLapis AmuletGreater Restoring PhialSovereign ShardEmbersteel Ore

A few of the 271 item icons, as the game draws them. Each one opens its entry in the wiki.

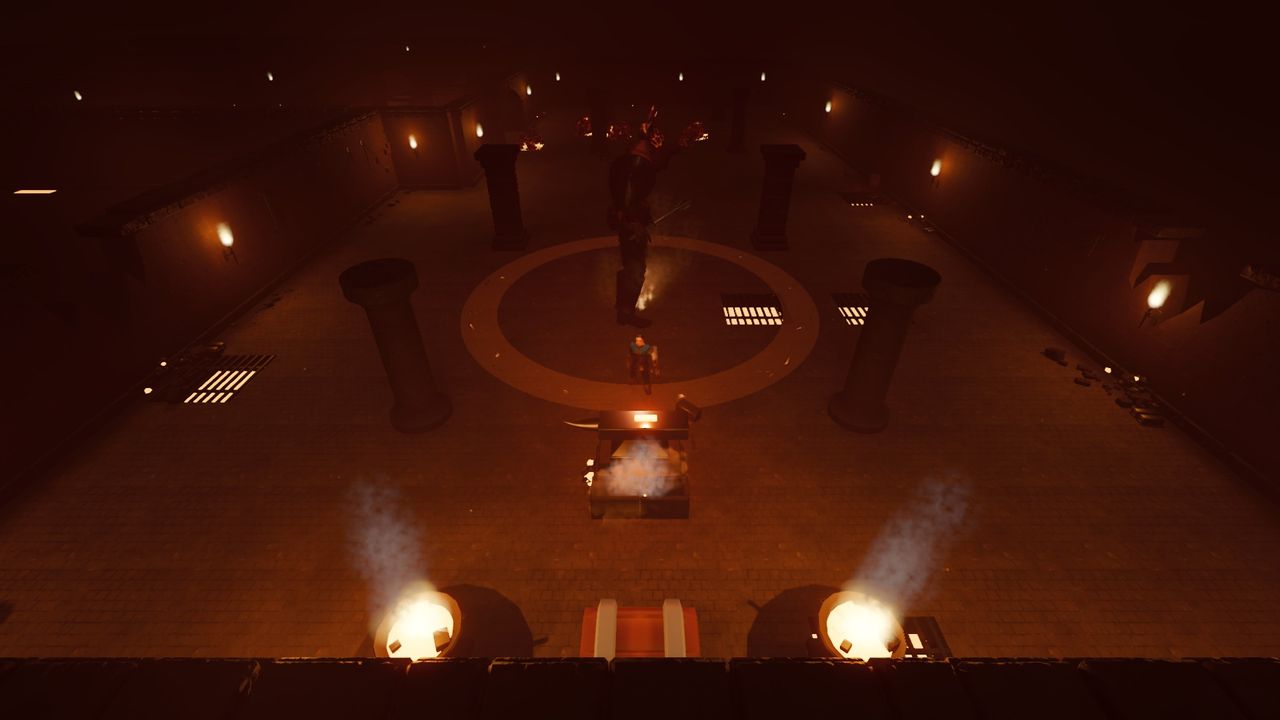
The Forge Tyrant
The boss of the Cinder Forge in his hall.
Dungeons

Fifteen dungeons, a trial and two raids

Each dungeon is instanced for your group and built from a stone kit for its theme: the Hollow Crypt, the Rootdeep Warrens, the Drowned Grotto, the Cinder Forge, the Vault of the Last Lantern, the Moth-Eaten Loom, the Hall of the Warp, the Undertow, the Selvage, the Underweave, the Looking Side, the Far Side, the Frozen Spinnery, the Cutting House, the Winding House, the Trial of the Lattice and two raids, the Spire of the Sundered Crown and the Drowned Basilica. Torches cast shadows through drifting haze, and doorways are arched in stone.

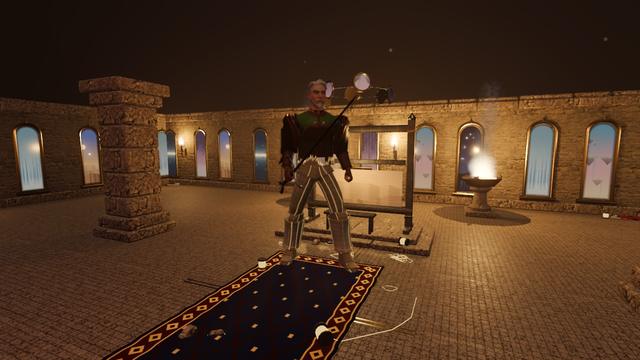
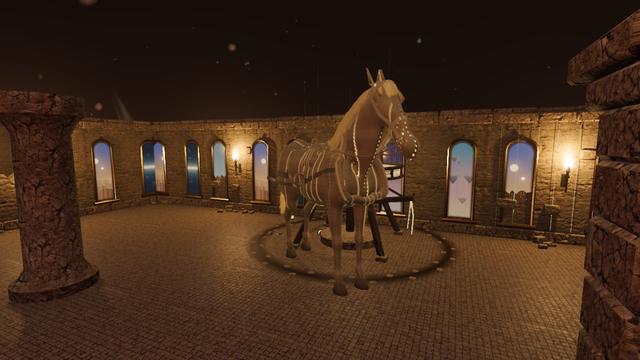
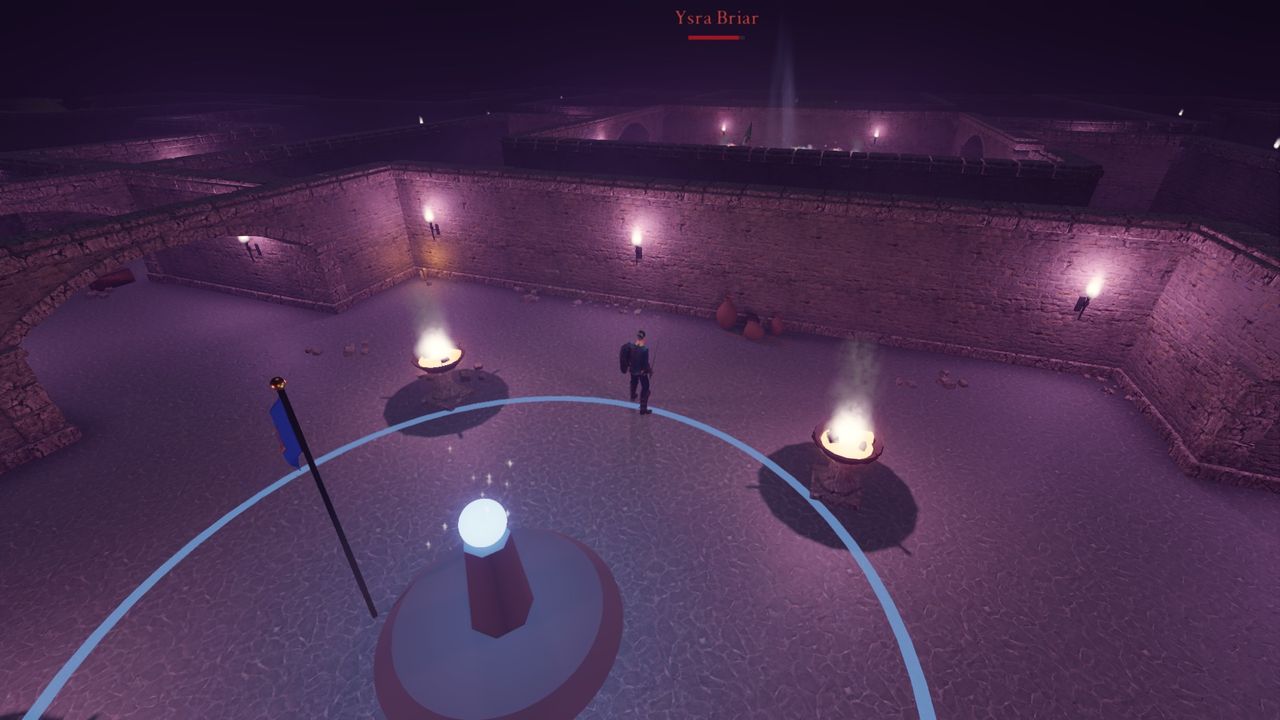
The fifteen story dungeons each take a shape of their own: the Hollow Crypt winds down past eleven tombs, Rootdeep Warrens opens into caverns, the Drowned Grotto runs in a ring of sea caves round the Cantor's flooded arena, the Cinder Forge is a run of pillared halls, the Vault of the Last Lantern, the second chapter's dungeon, is a run of warm slate halls beneath the Glass Scar, the Moth-Eaten Loom, the third chapter's, is a warren of halls and chambers hung with moth-eaten tapestries beneath the Heartroot, the Hall of the Warp, the fourth chapter's, is a run of icy vaults strung with glowing warp threads and webs of glass beneath the Warp Pillars, the Undertow, the fifth chapter's, is a sea cave of black, barnacled rock whose shingle floors hold tide pools glowing with the warp's light, the Selvage, the sixth chapter's, lies at the edge of the world's weave out along the glass boat's line, its floors woven of great cords and its sea-worn walls hung with loose warp, and the Underweave, the seventh chapter's, lies down the drowned boat's thread beneath Frostmere on the wrong side of the weave: a ring of rooms in cold rimed rock hung with loose warp and crystals of the mere's glass, its floors showing the back of the cloth in dark pools, long floats of thread and tied-off knots, and the Looking Side, the eighth chapter's, lies through the Looking Arch at the Lattice Gate: Cinderreach woven again in silver the wrong way round, its halls lined with arched mirrors, silver poured on the floors and pale glass along the walls, with the ash falling up into the dark, and the Far Side, the ninth chapter's, lies behind the Lattice Gate along Wenna's thread: halls of warm pale stone strung with white-gold warp, its floors inlaid with thread and every wall framing a window onto a place that cannot be, from a desert under two suns to a city standing upside down in the sky, and the Frozen Spinnery, the tenth chapter's, lies down the Carders' Stair in the glacier east of the Spire: open caverns walled in old blue glacier ice in strata warped by its flow, the old king's spinning wheels and stools standing in the ice where they were left, the floors combed into furrows like carded wool and the crown's lilac glass breaking through, and the Cutting House, the eleventh chapter's, lies under the Cloth Guild's half-fallen finishing house at the west end of the Tenter Ground: timbered, whitewashed shops hung with cloth in madder, woad and green, the croppers' padded tables standing in rows and the nap of a hundred years drifted against the walls like snow, and the Winding House, the twelfth chapter's, is the guild's laying-out house on the Saltreach downs below the Lych Field: limed walls, floors scrubbed white, lavender and rue hung drying from the beams, and linen folded in presses, stretched on frames and pinned to the dress forms that stand along the walls with their arms out. On the way down each has a mini-boss under a set piece of its own: Sexton Mordaunt by his open grave, Old Gnarltooth in a fallen hollow trunk, Captain Halloran Vane on the wrecked bow of the Morning Gull, Slagmaster Krag at his crucible, Ser Caddoc, the Wick-Knight, by a hearse of candles, Aldreth Silkhand at her distaff and great spindle, Vessrin, the Glass Brood-Queen, in a great web of glass strung across a ring of crystal spurs, Old Hallam, the Drowned Keeper, at the Greywatch Light's lost lantern, washed up on a rock ledge with its Fresnel lens still turning, Hesper, the Last Ferrywoman, by her moored glass skiff with its lantern turning at the bow, and the Shuttle, the greatest of the glasspike, capped in bronze, in the Sounding Pool, where Wenna's sounding lines come down through the roof, and the Looking Hart, silver to the hooves under antlers of the mere's clear glass, on the Hart's Road, where a crown of glass tines turns over the waystone, and the Treadle, Aubrel Corrow's old draught horse woven whole in the far side's thread, at her gin, the thread winding onto its drum and her ring worn into the floor, and the Rolag, the snow of the north carded into one fleece the size of a barn, crawling round the carding hall before the Carders' swift, and the Great Shears, the Cloth Guild's cropping shears as long as a man, walking on their points in the Cropping Shop by their padded table and empty rack, and the Lay Figure, the guild's jointed lime-wood mannequin four metres tall, walking the Fitting Room. Every boss asks something of the group: marks to step away from or gather on, or a ward to break.

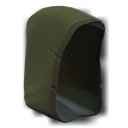
The bosses are dressed for who they are. Sexton Mordaunt digs in a slouch hat with his grave spade, Captain Vane wears a tricorn and barnacles and fights with a cutlass, Slagmaster Krag pushes brass goggles up over a red beard, the Twin Sirens have fins over their ears, Archdeacon Thessaly's mitre keeps its gold bands through his light, and Old Gnarltooth has gone grey, with old arrows still in his hide. Warden Ossric carries the lantern he calls the dead with, Choir-Mother Vesh stands under a halo of flame, and the Sundered King wears his crown broken in two. In the Vault, Ser Caddoc's great helm is crowned with burning candles, and Ilgrim, the last Lamplighter, wears a wide hat and a yoke of lanterns and fights with his lamplighter's pole. In the Loom, Aldreth wears a robe of undyed silk under a silk veil, glowing threads hanging from its hem. Boss rooms have set pieces that wake with their boss. Ossric's coffin lid grinds round and topples off; the Drowned Cantor's bell tolls; the forge vents steam and sparks; in the Spire the Rime Colossus rises from a frozen altar and Choir-Mother Vesh plays a burning organ before the Sundered King; beneath the Glass Scar the Last Lantern burns gold on its dais behind Ilgrim; under the Heartroot the Pale Moth wakes at the Weavers' Great Loom, its shuttle turning in cold moonlight; and beneath the Warp Pillars the Loomwright, a giant of ice-clear glass, stands at its frame of fifteen threads drawn up to a turning knot of light. Its glass, and the spiders', flashes at every facet and bends the hall seen through it. In the Undertow, Old Hallam wears an oilskin coat and a slouch hat crusted with barnacles and carries his lamp on a pole, and the Tideloom, a medusa the size of a cottage, spins the warp up out of its glowing pool. At the Selvage, Hesper is an empty hooded cloak of old thread with two cold glints in the hood, a ferry pole and a lantern, and the Ravel is a knot of plied rope as big as a room, its frayed ends glowing; when it wakes the loose warp round the Hem Stake whirls up. In the Underweave, Ilsabet, the Backweaver, stands pale as frost under a veil of thread at the Back of the Loom, in a robe of starweave where every knot is a star, and her Reflection is the same in the mere's silver. Through the Looking Arch, Tebasli wears her sister's veil and starweave in silver, the joins where her forty pieces came back together shining gold, and stands before her loom with pieces of her still circling it and the ash rising off the floor. On the far side, Aubrel Corrow, the First Gatewarden, grey-bearded in tarnished plate, is woven from the feet to the waist and still a man above it, and stands at his loom with his places turning in their frames over it. Under the glacier, Gyda Thrum, the King's Spinster, sits in her indigo robe embroidered with the spindle's lilac light, a living woman above the waist and old clear ice below it, with the spindle turning in its bowl beside her. In the Cutting House, Maud Kerf, the Cutter-off, wears the Cloth Guild's umber robe and leather apron with her little shears on a string at her belt, and stands at her folding table under broadcloth folded in layers, a length of it caught mid-fold turning above her. In the Winding House, Agnes Ellery, the Measurer, in mourning black and a chalked linen apron with the guild's ell in her hand, waits at her cutting table in the Sewing Loft, the great winding-sheet on its frame behind her.

Both raids are for up to ten. The Spire of the Sundered Crown is the level-30 climb to the Sundered King, past his Rime Colossus and Choir-Mother Vesh; the Drowned Basilica is a level-40 raid through twelve flooded halls of sea-worn stone and stained glass. Their bosses mark heroes to run out or to gather, raise wards to break before a channel ends, send adds crawling in to heal them and make their Defenders take turns, and every one has a berserk timer and scales to the size of the group. The Encounter Journal (X) explains each fight by role. Loot is personal, each encounter can be looted once a week, and each class has a tier set to collect in each raid.

Dungeon and raid bosses in the wiki
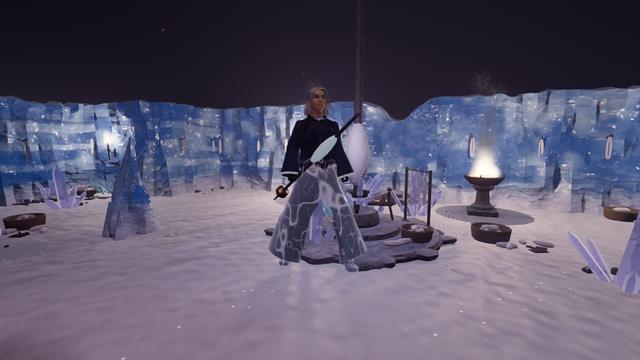
Gyda Thrum, the King's Spinster
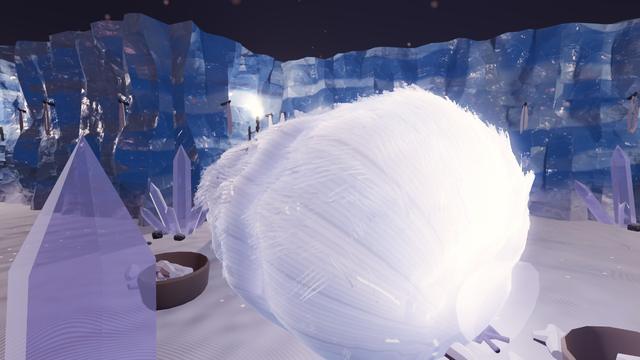
The Rolag
The Rolag
The First Gatewarden
The Treadle
The Treadle
The Hollow Crypt's boss hall
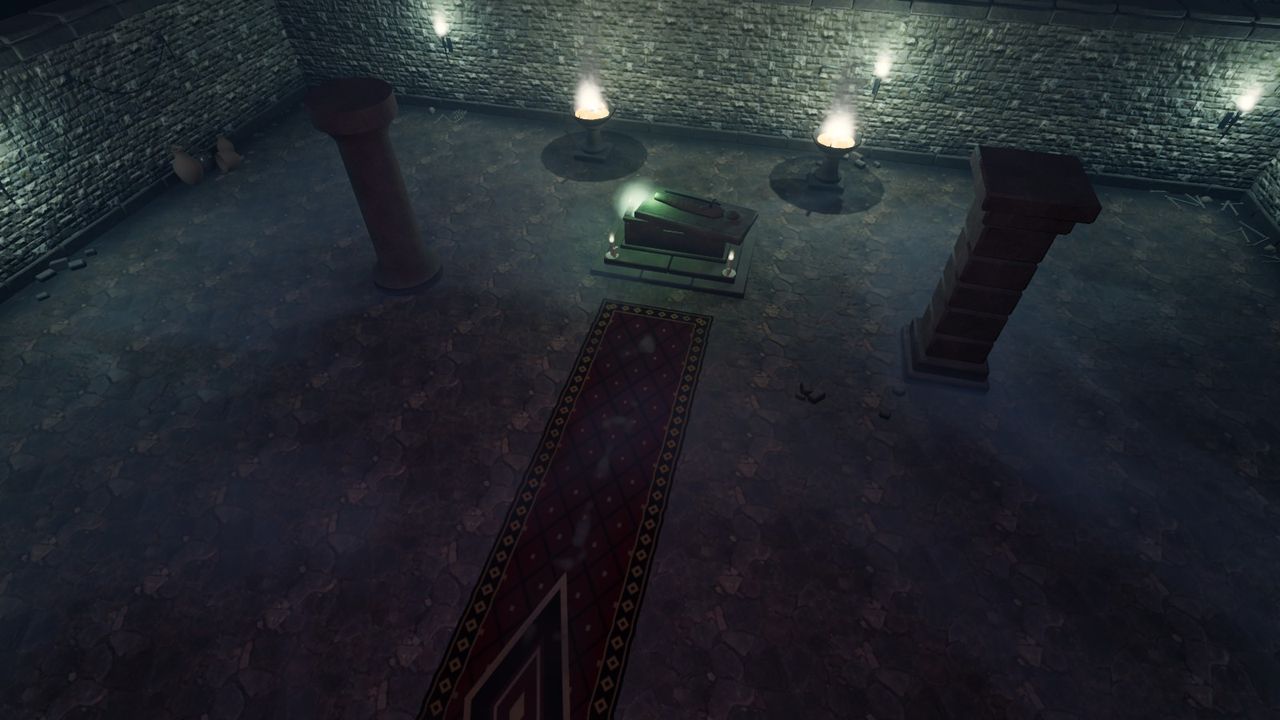
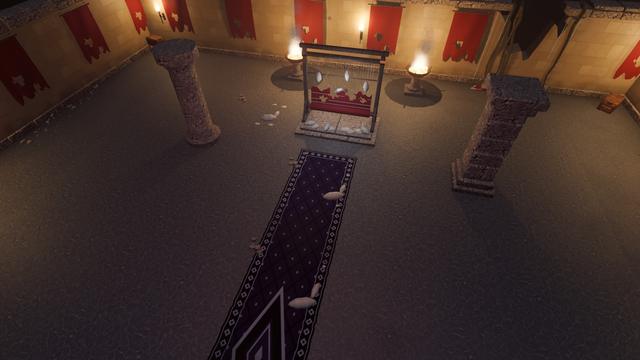
Warden Ossric's hall before he wakes: a worn red runner leads to his coffin between two braziers, low mist lies over the floor, and urns and bones stand along the walls.
Dungeons

Dust, damp and what was left behind

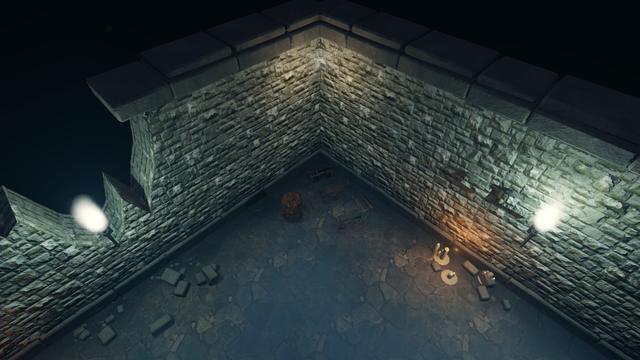
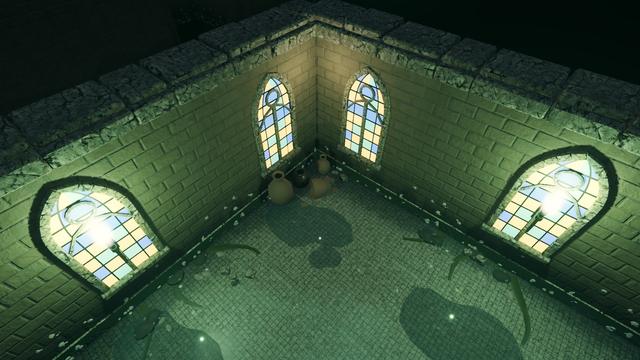
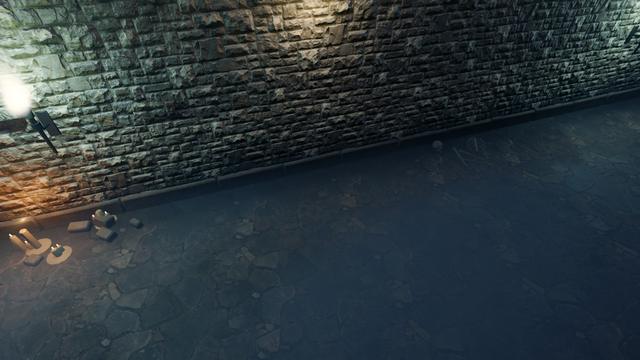
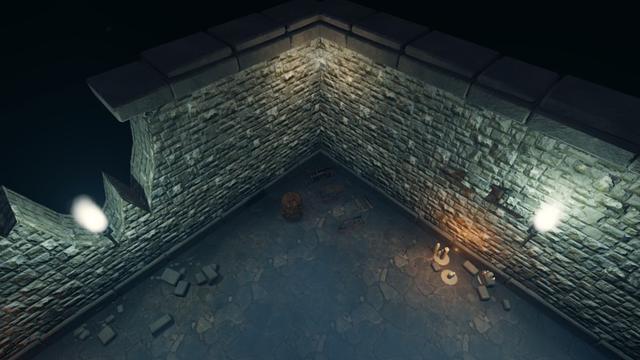
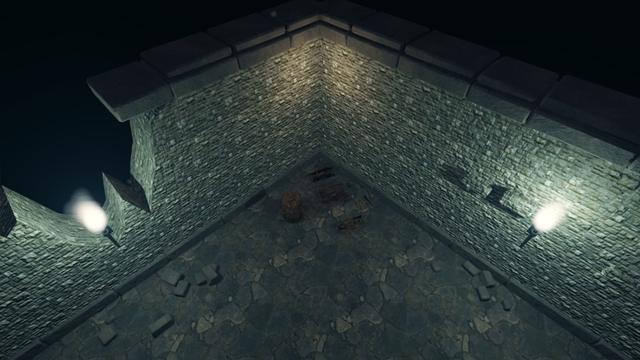
Every dungeon is dressed from its own layout, the same for everyone in it. Dirt gathers in a band along the foot of every wall, thickest in the corners, with a dark seam where the floor runs under the stone, and each theme lays its own ground over its floors: dust in the crypts, the Spire, the Vault and the Loom, moss and standing water in the sea caves, the Basilica and the Undertow, moss and damp in Rootdeep, soot in the Cinder Forge, and passages worn smooth down the middle where feet have gone. The walls have a dirty foot as well, damp rising up them to a tide-mark, stains and soot running down, and dust on their ledges. In the Frozen Reliquary the snow drifts deeper against the walls.

Along the walls and in the corners lie the things each place would hold: bones and skulls and candles burning in their own wax in the Hollow Crypt, roots and mushrooms in Rootdeep, glowing mushrooms in the caves, coal and slag in the Cinder Forge, books in the Spire and the Vault, shells, barnacled stones and kelp by the sea, rags in the Loom, ice in the frozen halls, crystal clusters where the Lattice runs and, in the Looking Side, pale glass, coal and bones among the fallen stone, on the far side rags of the first watch's livery, candles and books, in the Frozen Spinnery ice and rimed rock, the crown's glass and old bones, in the Cutting House the croppers' tables, folded bolts and drifts of nap, and in the Winding House linen presses, sheets on their frames and dress forms along the walls, each with the theme's own fallen stones. The nearest candles cast a light of their own. Cobwebs hang across the corners, and in some rooms a shaft of light falls through a crack in the roof with dust turning in it.

Eleven themes lay a worn woven runner down the boss hall to the set piece (the crypts, the Vault, the Loom, the Spire, the Basilica, the Selvage, the Underweave, the Looking Side, the Far Side, the Cutting House and the Winding House), and a low mist lies over the floors of the damp places: the crypts, the grove, the sea caves, the Basilica, the Undertow, the Selvage, the Underweave, the Frozen Spinnery and the caves and frozen halls beyond the Lattice Gate. None of it gets in the way of a fight: it keeps to the walls and corners, clear of doorways, chests and set pieces, and heroes and monsters pass through it. The Low graphics preset leaves out the mist, and below High fewer candles are lit.

Each dungeon's floors and what lies about them, in the wiki

A corner of the Hollow Crypt
A corner of the Drowned Basilica
The Loom's boss hall
The foot of a crypt wall
A crypt corner, dressed
The same corner, bare
The Encounter Journal
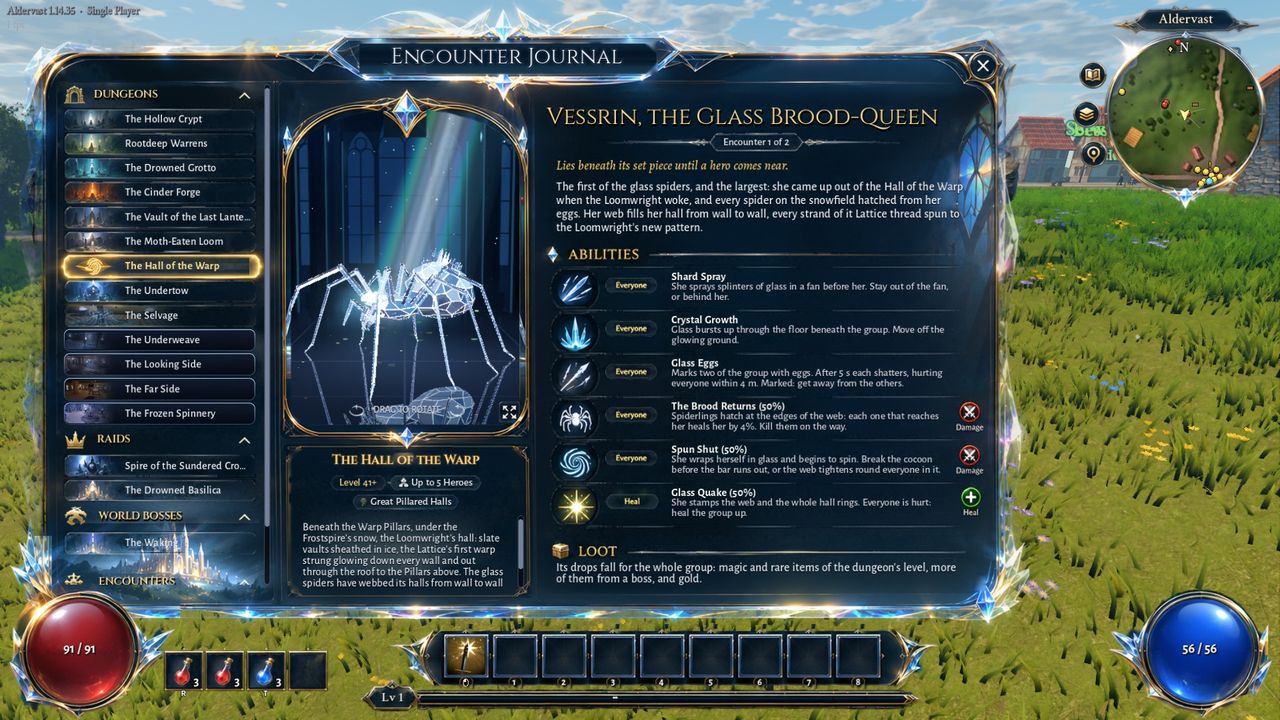
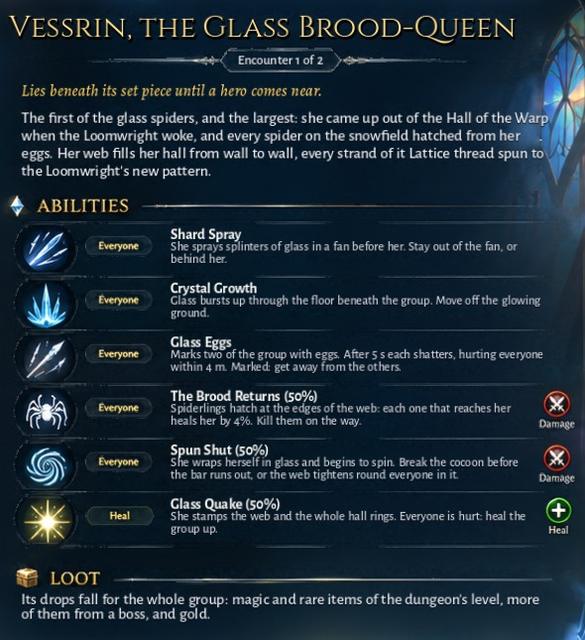
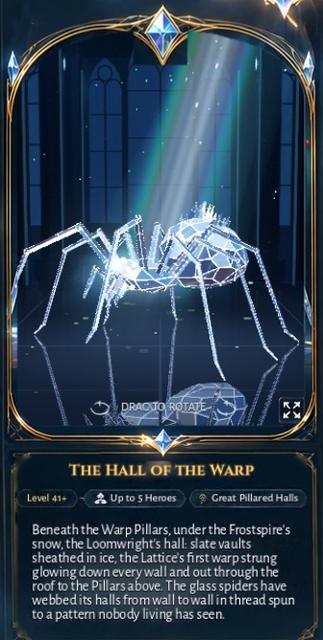
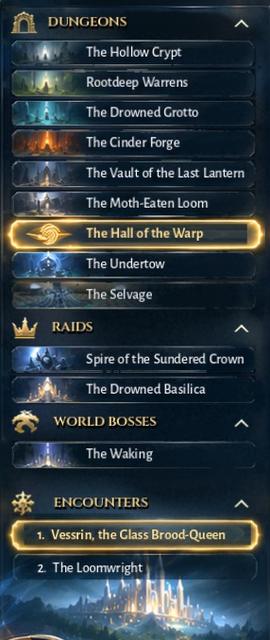
The journal open at the Hall of the Warp, its frame, rows, pills and headings cut from the painted design of the screen: the places under their gold emblems with the picked one glowing, Vessrin in cut crystal on a polished stage, the hall's card, and her page with its abilities, role pills and Damage and Heal tags.
Dungeons

The Encounter Journal

The Encounter Journal (X) opens beside the minimap and lays out every dungeon, raid and world boss in three columns, its frame, rows, pills, headings and the gold arch over its stage all cut from the painting of the screen. On the left the places sit under headings with gold emblems (a gate, a crown, a dragon), each row with its own picture, rendered from the place's set piece; the row you pick glows in a gold frame, and the place's encounters are listed under them, above a citadel at the foot of the list, its keep, towers and curtain walls standing over a town and a lamplit road in two layers of mist. In the middle the boss turns under a drawn gold arch set with crystals, in a dark gothic hall with lancet windows of stone tracery and a mirror floor, and you can drag it round or look closer; glass bosses are shown as cut crystal, with large flat facets that each catch the light, bright bevelled edges and legs like long prisms, standing on a polished stone floor over their own reflection under a shaft of rainbow-edged light from the windows behind. Under it is the place's card, gold-lined layered glass with cut corners and filigree knots, with its level, how many it is for and its layout on pills, and its story.

On the right the boss is written up: its name in large gold capitals over “Encounter 1 of 2” on a silver bar, where it waits, its story, and each of its abilities as a row with a round icon illustrated for it (glass shards, crystals bursting up, a glowing ring, a spider, a spiral), who it is for on a pill (Everyone, Heal on a green-gold pill, or Defender), its name in bold over what to do, and a Damage or Heal tag when that is plain. Under the abilities is what it drops.

The journal and the HUD were first laid out to the painting and checked against it crop by crop; now that they are cut from it, the two match within a pixel or two wherever the game draws the same thing. The boss is the game's live 3D model, and the names, numbers and objectives are the game's own words.

Every boss's journal in the wiki

A boss's page
A boss's page
The preview and the place's card
The journal's list
The journal's list
The minimap and quest tracker
The Lattice Gate
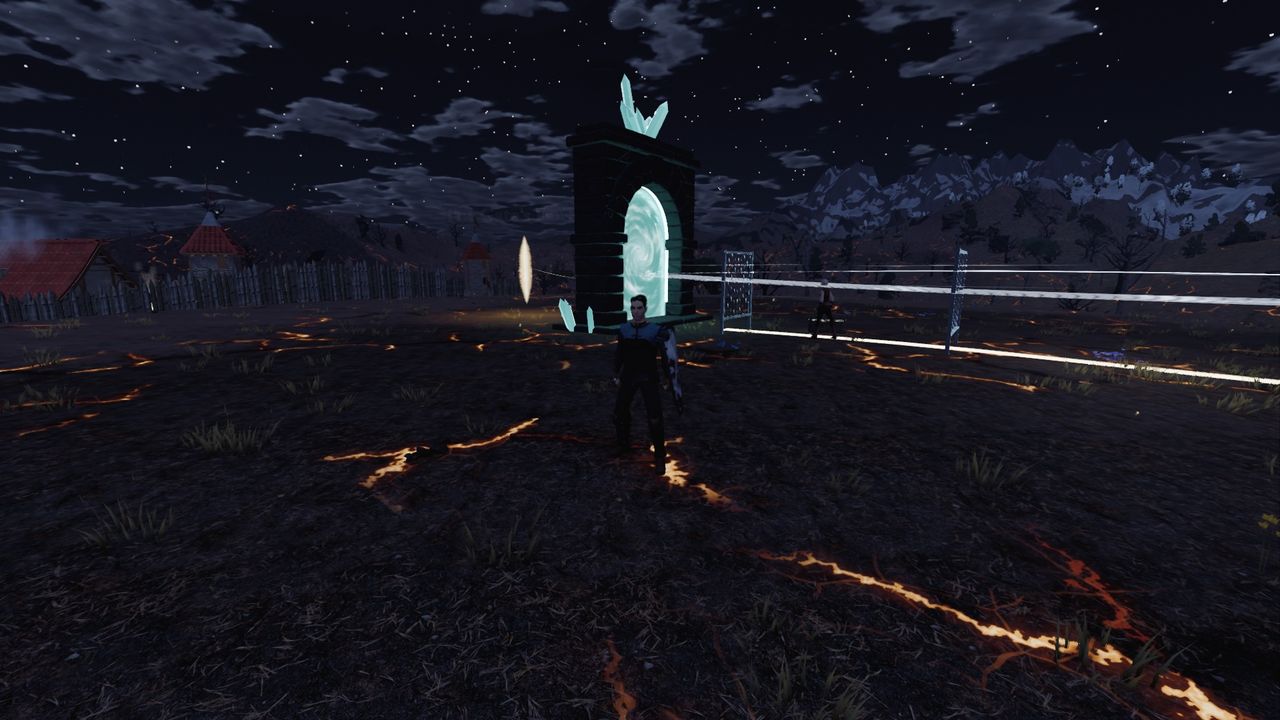
The endgame portal, kept by Gatewarden Ysolde.
Endgame

Beyond the Lattice Gate

When the Sundered King has fallen, Gatewarden Ysolde opens the Lattice Gate. Waystones dropped in the world open expeditions into 12 impossible places, each with its own boss, from the Ossuary of Whispers to the Unweaver itself.

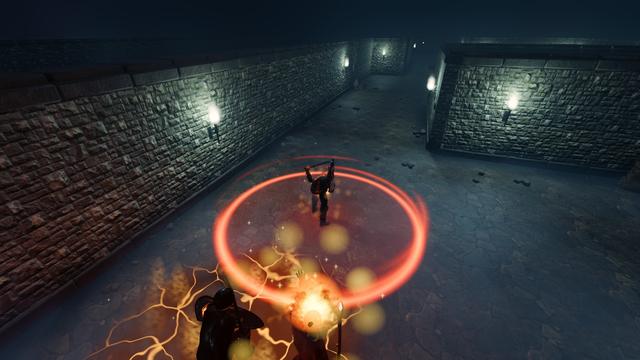
Each area is built in a shape of its own: halls and chambers, a winding descent, a ring of rooms round an arena, a labyrinth, open caverns or pillared halls. Higher-tier waystones are harder and pay better, and each rolls modifiers that raise the rewards: more monster life, extra packs, curses on you, burning, chilled, shocked or desecrated ground, monsters that burst when they fall, or a second boss.

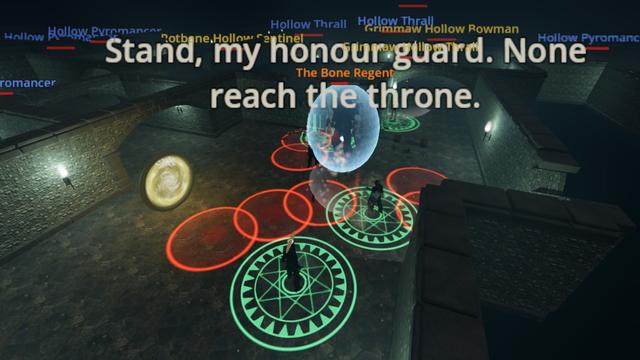
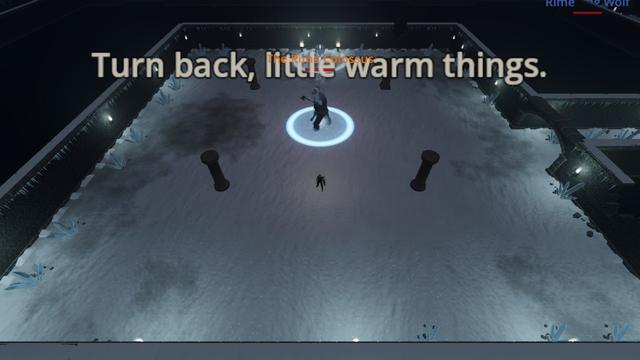
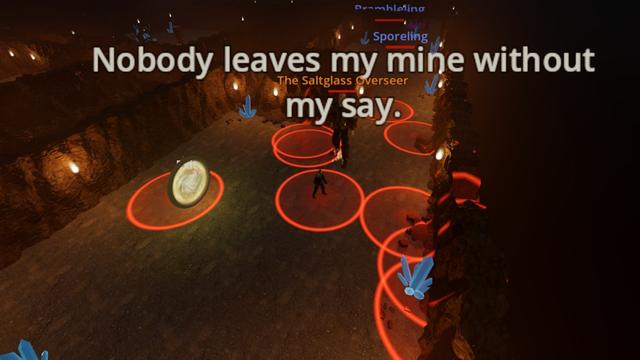
Every expedition boss has a fight of its own. The Bone Regent hides behind his honour guard, the Unweaver is warded by its pylons, and the Saltglass Overseer brings the roof down. Clearing expeditions earns atlas points for passives that shape what you find. The Season of Embers adds Lattice Rifts and titles for season characters.

The Lattice Gate in the wiki

The Bone Regent's ward
The Frozen Reliquary
The Saltglass Overseer
Burning ground
Burning ground
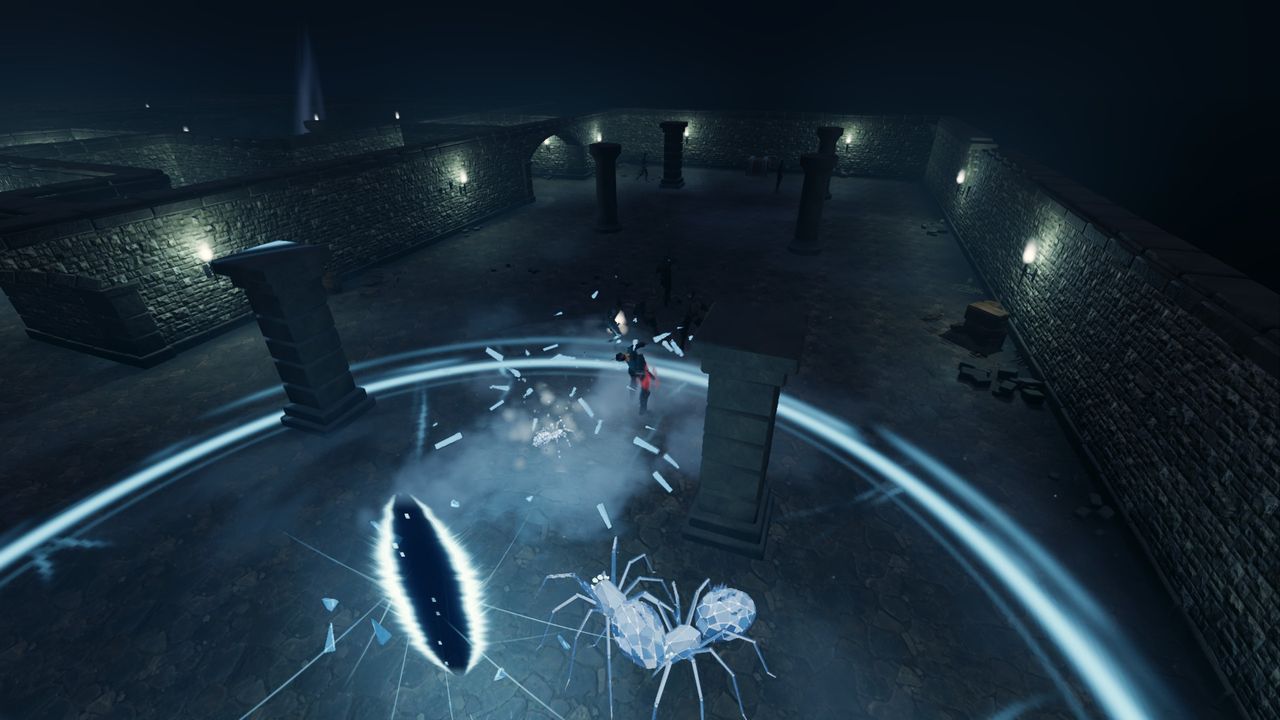
A Warp Tear
A tear open in the Ashen Nave at tier 8: its ring spread over the floor, glass spiders coming through round the rent, and the tear's bar at the top right with sixteen seconds left, 31 unpicked and the Knot-Keeper through.
Endgame

Warp Tears

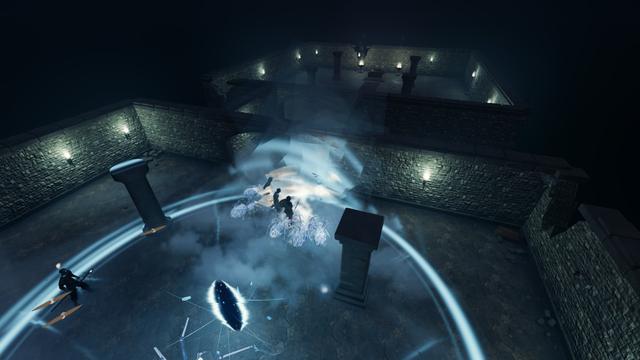
Once the Loomwright is dealt with, the Lattice's oldest threads run out through the Gate, and where they snag the warp tears. About one expedition in five holds a Warp Tear: a rent hanging in the air of one of its rooms, a lens of the dark beyond edged with ragged warp-light, with loose threads frayed to the floor and splinters of glass turning about it.

Touch it and it opens. A ring of the warp spreads across the floor, and glass things come through inside it already hunting, stitched out of the air in threads of light: the Unspun, small half-spun spiders that swarm, with spiderlings, glass spiders and now and then a Warp-Weaver, some of them magic or rare. The tear stays open 16 seconds, and every one you unpick buys back three quarters of a second, so a group that kills fast keeps it open a long time while the packs come faster. A bar at the top right shows its time running down and the count. At 45 kills the Knot-Keeper comes through in a column of light, a glass spider two and a half times the size, carrying Warp Thread and two rare items.

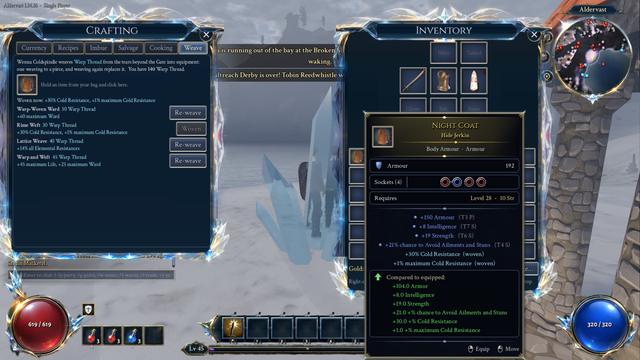
When the time runs out the tear seals and what still stands unravels back into it. Warp Thread, a new currency, falls from the things that come through, from the Knot-Keeper and where the tear hung. Wenna Coldspindle weaves it into equipment from a new Weave tab in the crafting panel: 13 woven properties, from ward and frost resistance on armour to a glass edge on a weapon, speed on boots or a skill level on an amulet, one to a piece, re-woven whenever you like. Two atlas passives make tears more frequent and longer, and five achievements come with them.

Warp Tears and weaving in the wiki

The tear's ring
The tear's ring
Wenna's Weave tab
Wenna's Weave tab
High water
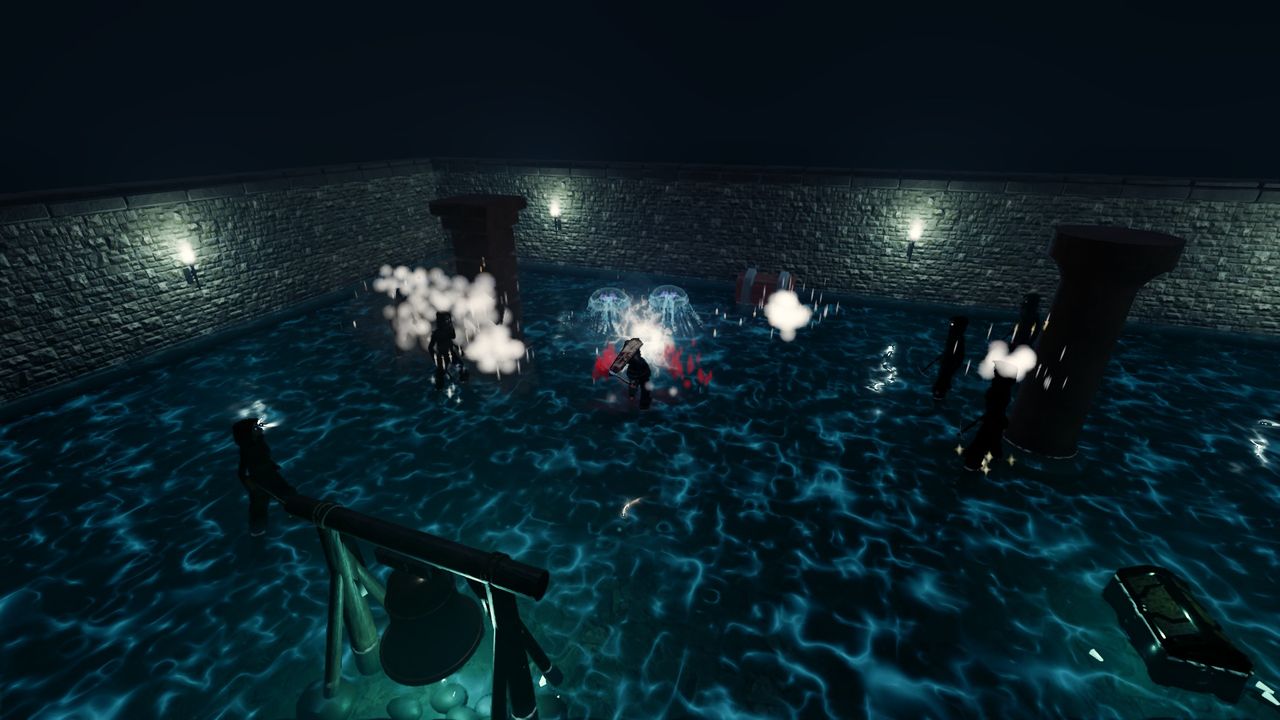
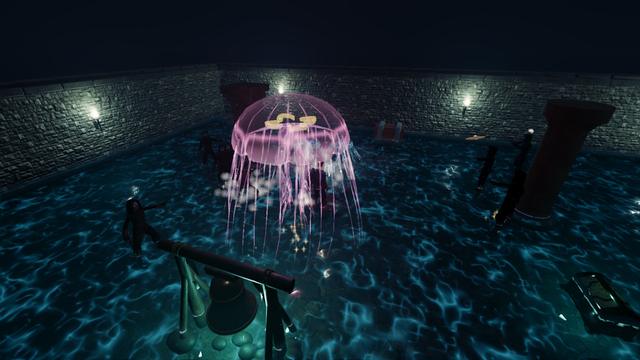
A Tide Bell rung in the Ashen Nave at tier 8: the sea knee deep through the hall, a sea chest surfacing by the tomb, the bell on its frame beyond, and the tide's bar at the top right with 33 seconds of high water left.
Endgame

Tidewrack

Since the Undertow the warp goes out with every tide, and where it runs out past the Gate the sea goes after it. Once you have been down into the Undertow, about one expedition in five holds a Tide Bell: a ship's bell gone green under the sea, hung from a frame of driftwood over a cairn of tide-worn rocks, with kelp hanging from the beam and sea glass glowing among the stones.

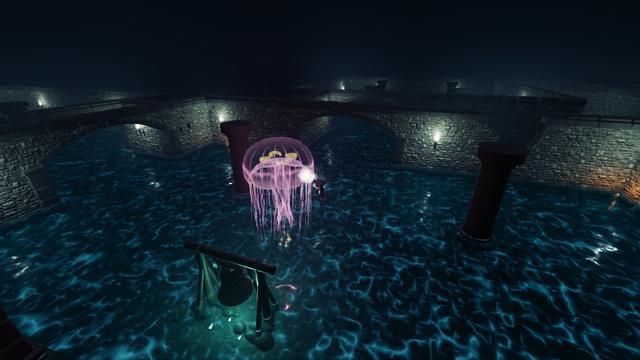
Ring it and the sea comes in over every floor of the map. In 7 seconds it stands knee deep through every room and passage, holds at high water for 34 seconds, then drains away over 8. The water is a new shader laid over the floors: clear dark sea with the stones seen through it, bent by ripples, lit from beneath by the warp's light, with foam wherever a wall, a pillar or a leg stands up through it. Wading slows you a little, every step splashes, and medusae drift in on the tide near you, already hunting.

While it is in, 4 to 6 barnacled sea chests surface across the map, one to a room, holding gold, magic and rare items, Sea Glass and now and then a waystone. Whatever is not opened when the sea goes out sinks with it. At high water the Bloom Mother rises at the bell in a column of rose light, a medusa two and a half times the size, pink and gold, and she stays when the tide goes.

Sea Glass, a new currency, sets a tidemark in a waystone: its map holds a Tide Bell for certain, and more chests come in. Two atlas passives bring the bells more often and the high water longer, and five achievements come with them. A bar at the top right follows the tide, the chests opened and the Bloom Mother's coming.

Tide Bells in the wiki

The Bloom Mother rises
Fighting in the tide
A Loose Thread pulled
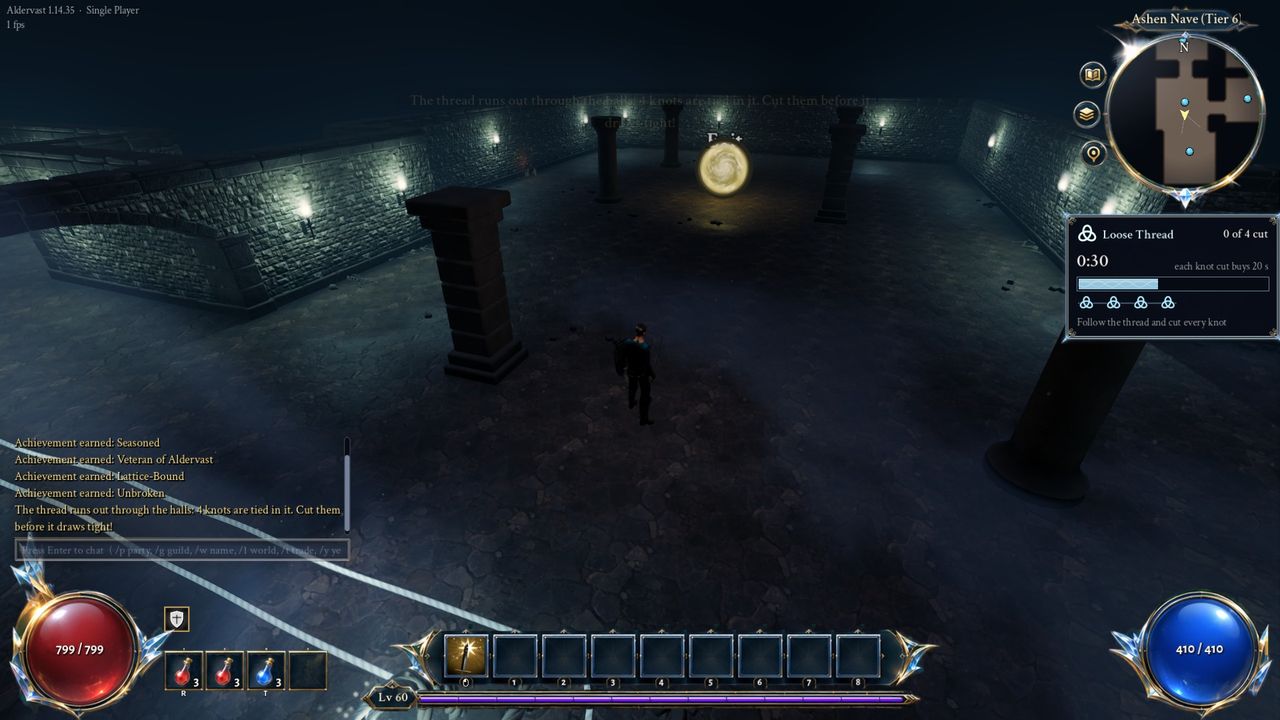
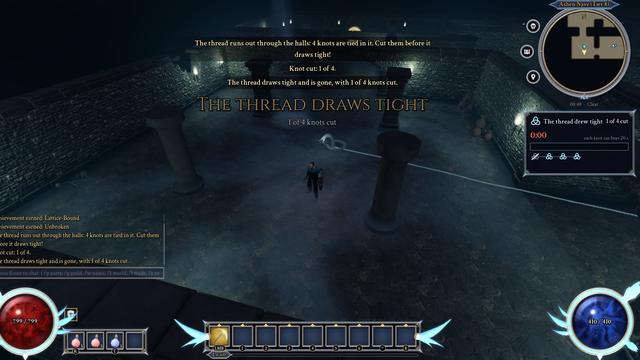
The thread running out across a hall of the Ashen Nave from its frayed end, with the Loose Thread bar at the top right: the time left, the thread's light and a knot for each of the four tied in it.
Endgame

Unravelling

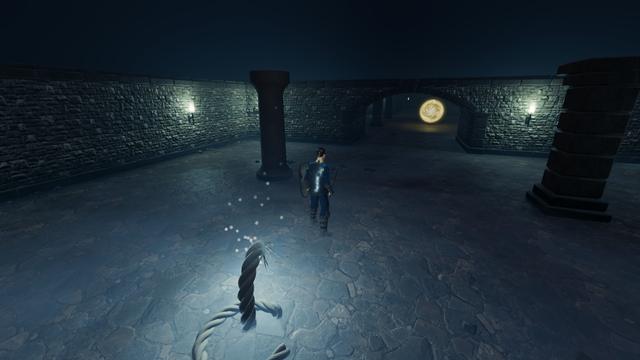
However the Lattice was tied at the Selvage, the slack it took in runs back out past the Gate, and where it snags it knots. Once you have finished the Selvage, about one expedition in five holds a Loose Thread: a frayed end of glowing rope standing up out of the floor a little way in from the entrance, with motes of light lifting off it.

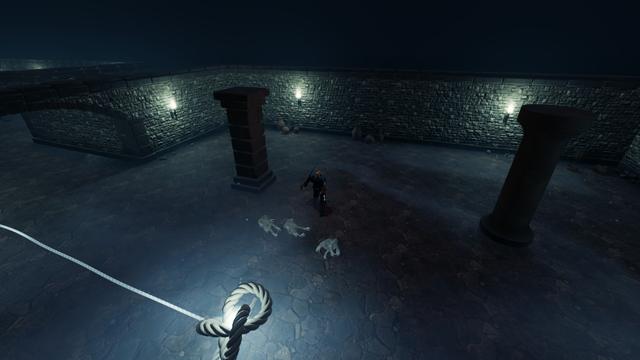
Pull it and the thread runs out through the halls along the passages to three to five knots, each in a room of its own, and a clock starts: 48 seconds before it draws tight, with each knot cut buying 20 back. As you come near a knot, woven things are stitched out of it to hold it, hemwraiths, ravellings and unpickers, and it cannot be cut while they stand by it. A bar at the top right shows the time left, the thread's light running down and a knot for each, struck through as it is cut.

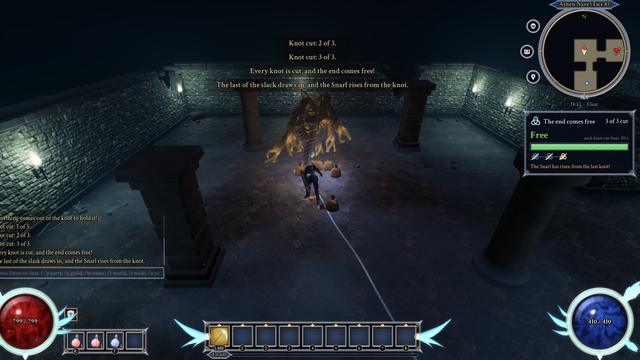
Cut every knot in time and the end comes free with items, gold and Hem Thread, a new currency that rerolls a rare item but hems its best property in place. At waystone tier 7 and above, and now and then below it, the Snarl rises from the last knot, a great knot of rope in dark gold. Run out of time and the thread draws tight, taking the uncut knots and everything holding them back along itself. Two atlas passives make the threads more common and longer, and five achievements come with them.

Loose Threads in the wiki

A loose end
A loose end
A knot held
A knot held
The Snarl rises
The Snarl rises
Drawn tight
Drawn tight
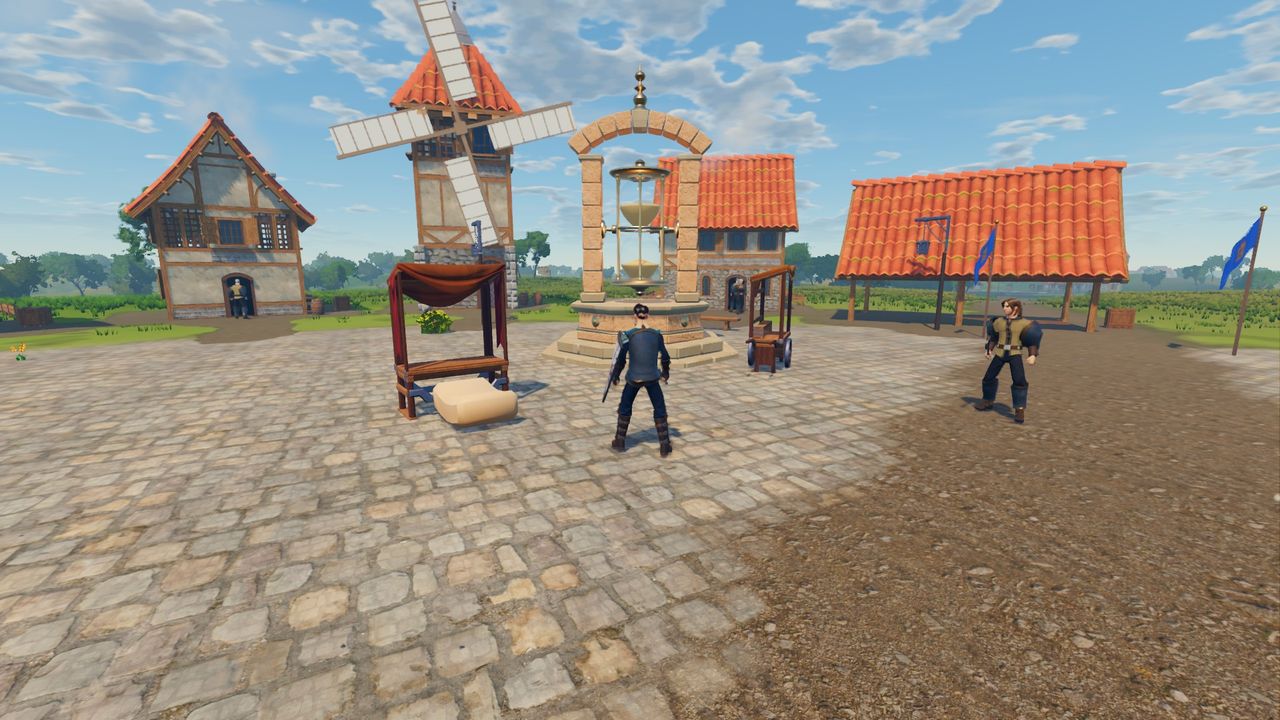
The Great Hourglass
The monument on Harrowford's square: a sandstone plinth, a brass frame on its pivot and a glass of gold sand that runs for two minutes before the frame swings over. Ysolde Marrowglass, the Horologist, stands beside it.
Endgame

Hourglass runs

On Harrowford's square stands the Great Hourglass, a sandstone plinth with a brass frame on its pivot and a glass of gold sand. The sand runs for two minutes, the same moment for everyone, then the frame swings over and it runs again. Ysolde Marrowglass, the Horologist, keeps it and hands a sigil to any hero of level 35 or more. A sigil names a dungeon and a tier: the Hollow Crypt, Rootdeep Warrens, the Drowned Grotto, the Cinder Forge or the Vault of the Last Lantern.

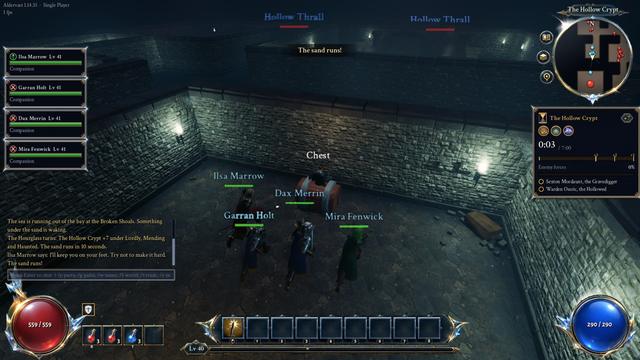
Turn the sigil in the glass and its dungeon opens for you and your party at the sigil's tier, with companions to fill any empty places. Monsters are level 34 plus the tier, with 8% more life and damage for each tier past the second, compounding. After a ten-second count the sand runs: slay every boss and 85% of the enemy forces before the par time, from 7:00 in the Hollow Crypt to 15:00 in the Cinder Forge and the Vault. Each fall adds five seconds. Beat the par and the sigil rises a tier, within 80% of it two, within 60% three; run too slow and it drops one.

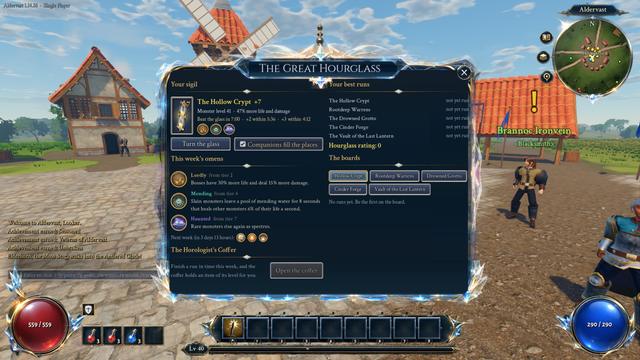
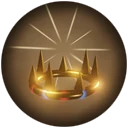
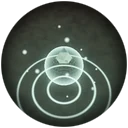
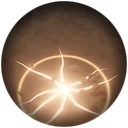
Each week brings three omens from an eight-week rotation: one from tier 2, a second from tier 4 and a third from tier 7. Hardened and Lordly toughen the trash or the bosses; Volatile, Kindred, Seething and Mending make packs burst, embolden each other, rage when hurt or heal from the fallen; Quaking, Grievous and Haunted crack the ground under you, open wounds that bleed until you heal, or raise rares as spectres. Each omen has a painted emblem and effects of its own in the dungeon.

A run ends with a cache of gold and items at the run's level. Your best run in each dungeon adds up to your Hourglass rating, each dungeon keeps a board of its ten best runs, and once a week the Horologist's Coffer holds an item for anyone who finished a run in time. A tracker under the minimap shows the clock against the par, the forces and the bosses.

Hourglass runs in the wiki

The sand runs
The sand runs
The Horologist's panel
HardenedLordlyVolatileKindredSeethingMendingQuakingGrievousHaunted

The nine omens. Each one opens its entry in the wiki.

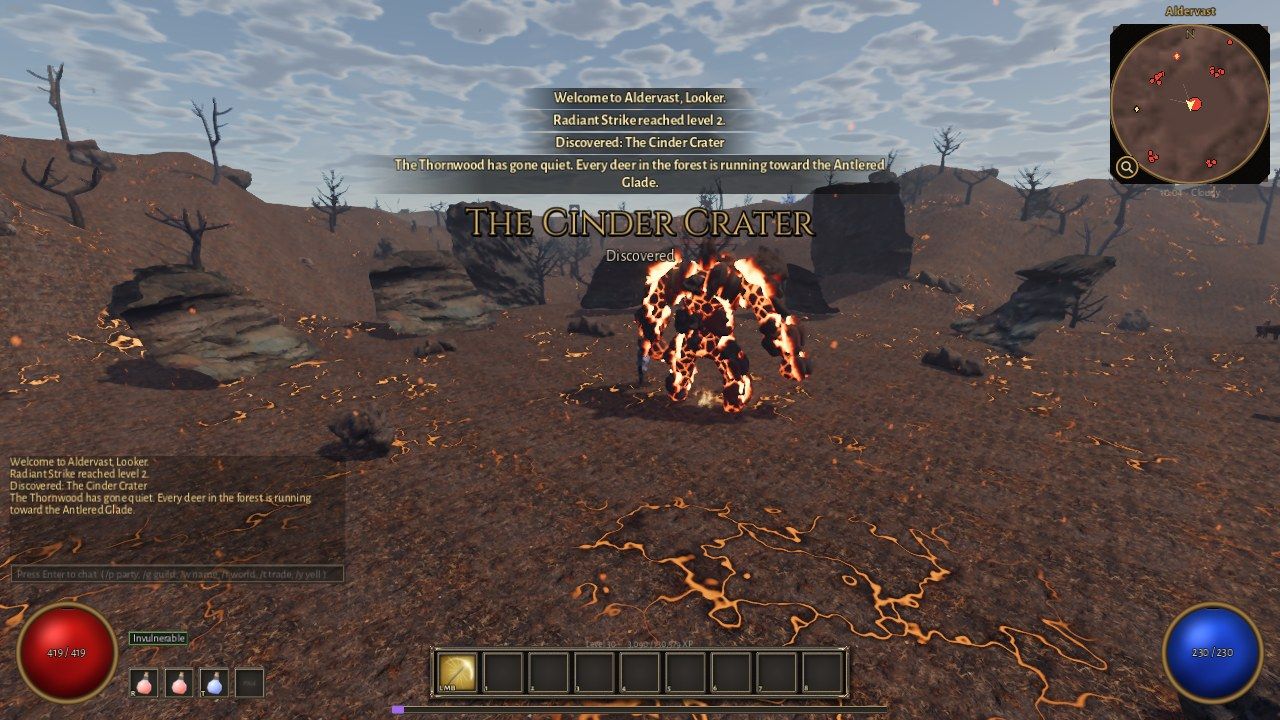
Vorgrath, the Cinder Colossus
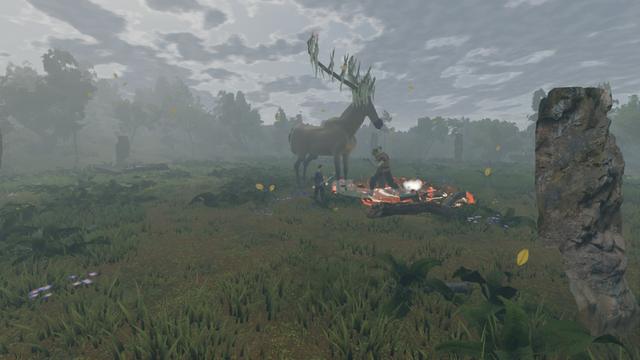
Vorgrath awake in the Cinder Crater: plates cut from scanned boulders over a core of molten rock, among the black crags of the rim, with melt glowing in the cracks of the floor.
World bosses

The Waking

Three world bosses of level 40 sleep in lairs out in the open world, and each wakes once an hour, twenty minutes after the last. Old Carapace, the Wreck-Bearer, heaves itself out of the sand of the Broken Shoals on the hour; Vorgrath, the Cinder Colossus, stands up out of the Cinder Crater at twenty past; and Elderhorn, the Moss Stag, walks into the Antlered Glade at twenty to. The whole island hears three minutes before one wakes. If nobody is fighting it after fifteen minutes, it goes back to sleep.

Each fights as a raid boss does: marks to run apart from or gather on, feeders that crawl in to heal it, a ward to break before its channel ends, Defenders taking turns and a berserk timer. Its life scales to the heroes and companions fighting it, so a party can take it on, and a lone hero can call companions to the fight at the lair. Everyone who fights shares the kill, and there is no tagging.

Each character's first kill of each boss in a week gives its spoils: a 30% chance at one of its two uniques, rising by 15% for each week it misses, or else a rare item and gold. Six uniques drop nowhere else, from the Wreck-Bearer's Hull to the Velvet Crown. The map shows how long until each lair wakes, and the Encounter Journal (X) keeps a page on each boss.

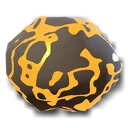
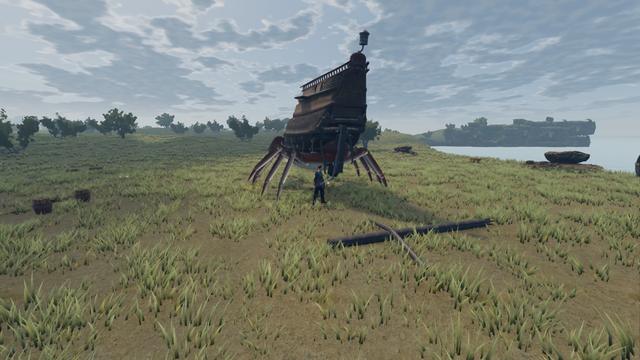
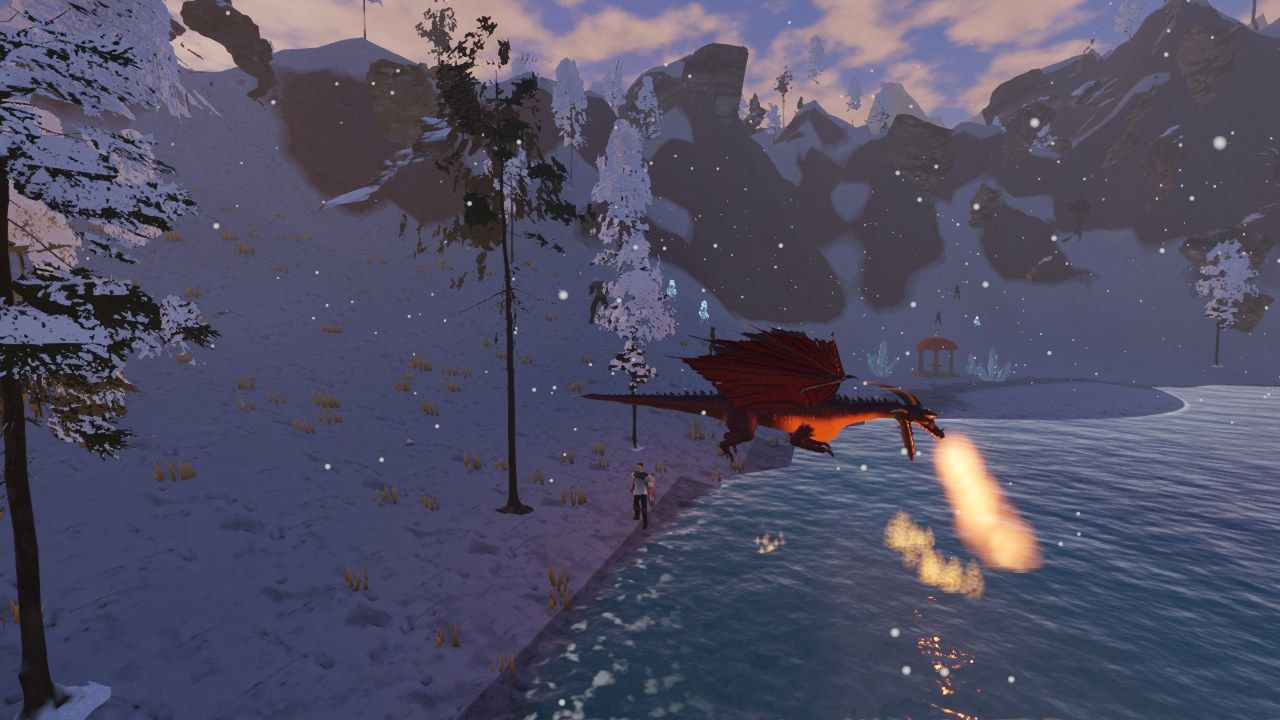
Vorgrath is fifty-three plates cut from scanned boulders over a core of molten rock. Old Carapace is the Reef Snapper grown old, carrying the stern castle of the wrecked Merrow's Due for a shell. Elderhorn is a giant elk whose antlers have grown into a crown of branches hung with moss.

World bosses in the wiki
Old Carapace, the Wreck-Bearer
Elderhorn, the Moss Stag
Wreck-Bearer's HullLantern of the MerrowHeart of the CraterKaldrian ForgefireThe Velvet CrownElderhorn

The six uniques of the Waking. Each one opens its entry in the wiki.

Taking a hearthstone
The Lantern Compact takes the Bell Hearth.
Player against player

Battlegrounds and duels

The Shattered Hall sets the Lantern Compact against the Thorn Covenant, five a side, holding three hearthstones for renown. The Sunken Reliquary sets the Tidewardens against the Emberwatch: carry the other side's relic home while yours is safe. Queues are split into level brackets, and bots fill empty places so a battle can start.

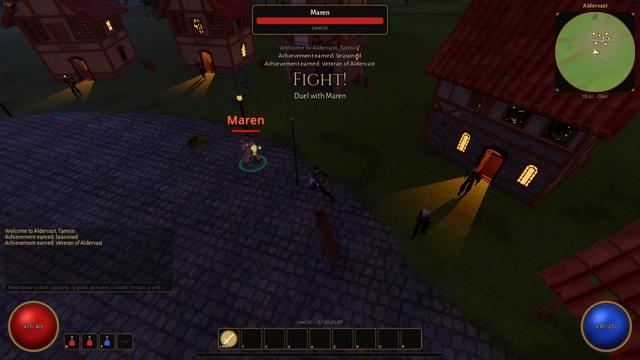
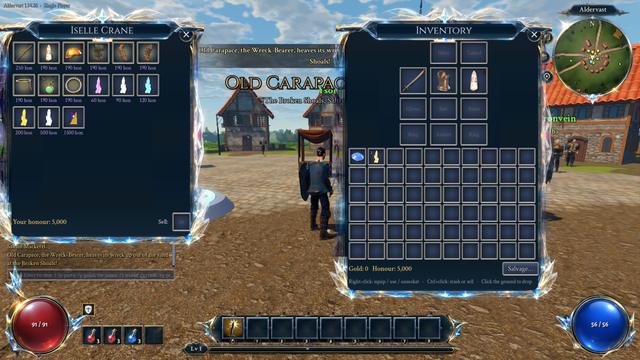
Battles earn honour for a win, a loss or a draw, spent at Iselle Crane the Battlemaster on battle-forged gear and the Champion's Tabard. In the open world you can challenge anyone nearby to a duel.

Battlegrounds in the wiki
The Shattered Hall
The Shattered Hall
The Sunken Reliquary
A duel
A duel
Honour wares
Honour wares
Companions
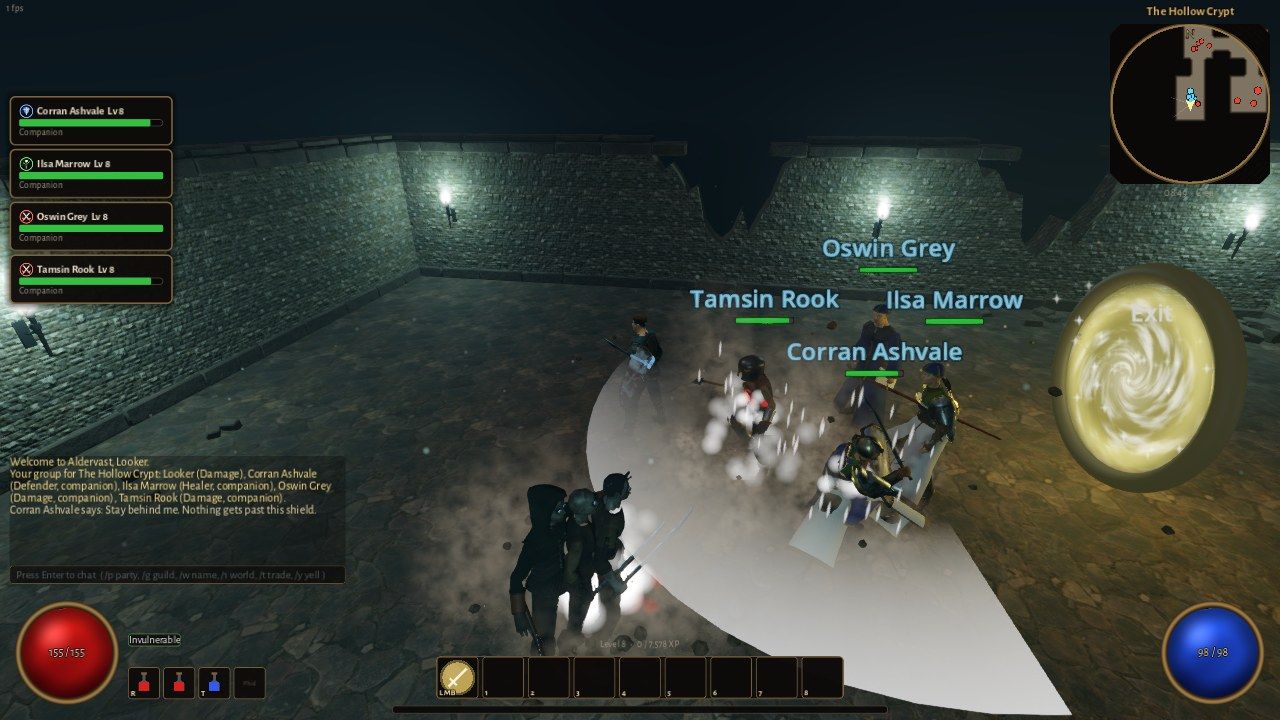
Companions fill empty places in a dungeon group.
Together

Parties, guilds and the queue

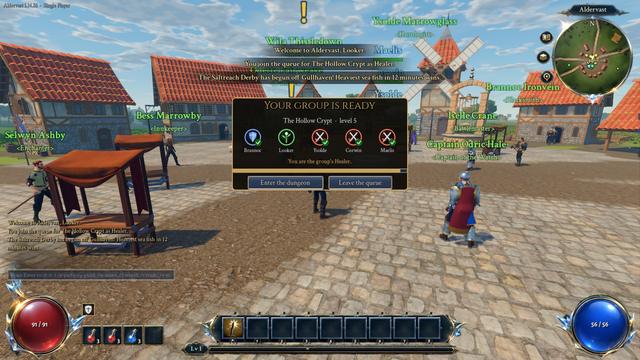
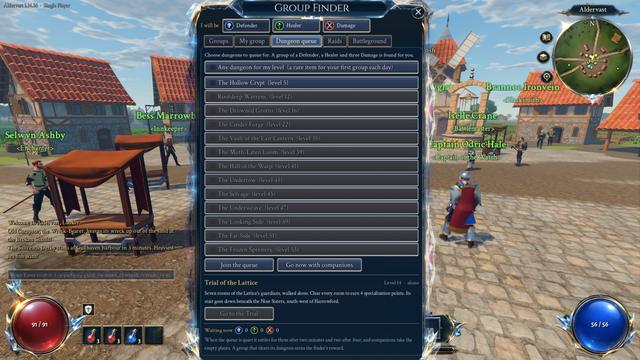
Group up for dungeons with the group finder, or join the dungeon queue as a Defender, Healer or Damage. If the queue cannot fill a group, named companions take the empty places, each with a role, gear and a voice. A party's leader can make it a raid of ten, and the finder's Raids tab fills one with two Defenders, two Healers and six Damage.

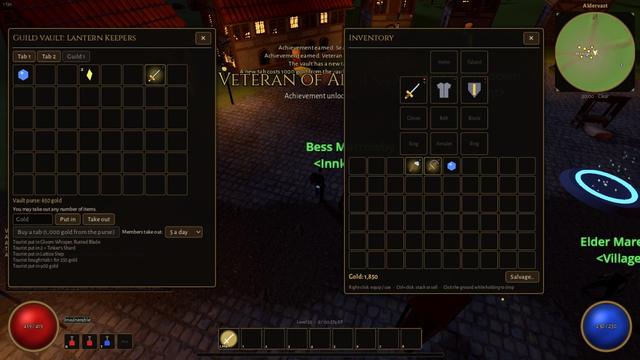
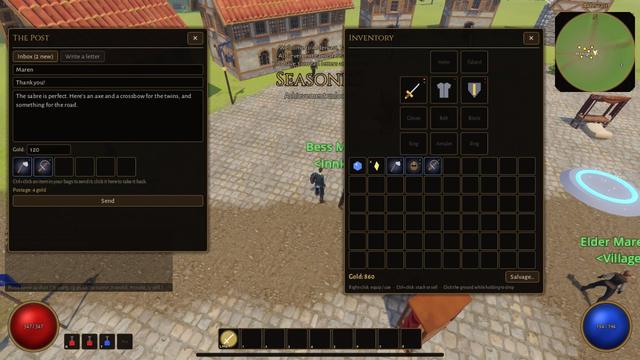
Guilds have ranks, a message of the day, arms of their own design shown on tabards and banners, a shared vault, and a hall in Gullhaven to rent. Players can trade face to face (a request lasts two minutes, and a trade ends when the traders part), use the auction house at the Gullhaven Exchange (listings are made and cancelled at its auctioneer, and it keeps 5% of each sale), keep a stash, and send letters with items and gold through the post.

  • Chat, whispers, friends, ignore and emotes
  • Journaled trades with anti-duplication checks
  • Reconnection that keeps your party

Companions in the wiki
Your group is ready
Your group is ready
The group finder
The group finder
The guild vault
The guild vault
The post
The post
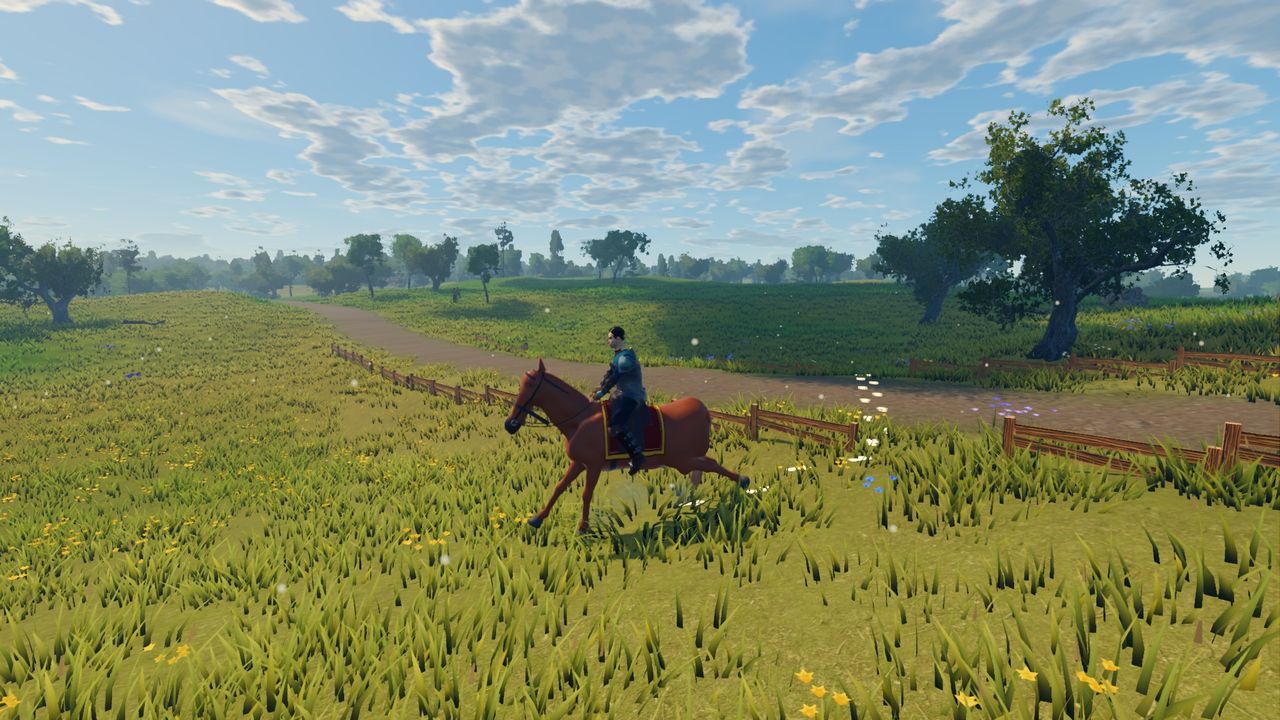
A chestnut horse
Riding across Brightmeadow.
Life in the world

Ride, fish, gather and craft

Buy a riding horse from Ivo Brack, Harrowford's stablemaster, and ride at a walk, canter or gallop. You dismount at a dungeon or battleground door, and a rider who falls is thrown from the saddle. Escort Wila's wagon along the Merchant's Road to Millbrook while cutthroats prowl.

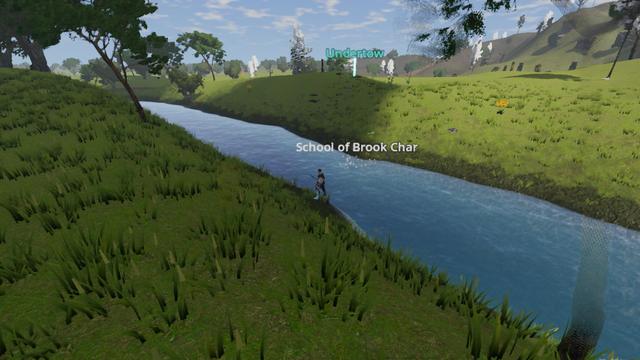
Fish the Saltreach sea, the clear shallows of Mirrorpool, Stillwater Tarn, Frostmere and the rivers, and cook the catch into food that keeps you Well Fed. Pick herbs by hand or take a Mining Pick to an ore vein. Each gather takes a few seconds and stops if you move, are hit or cast a line. Fishing and gathering are done on foot: mounting up takes your line in and stops a gather. A vein holds several loads and now and then gives up a shard or some Lattice dust as well. What you gather feeds alchemy (phials and essences), smithing and enchanting.

Take a Skinning Knife to the beasts you kill for leather, and in the Peaks and the Wastes for rimefur and cinderhide. Ore is smelted into bars at the anvil outside every smithy. Smiths forge the bars into weapons and armour, and stitch leathers and hides into armour that always carries a matching property: cold resistance from rimefur, fire resistance from cinderhide.

Smiths also forge better tools: silversteel and embersteel picks, sickles for herbs and a flaying knife, each quicker and often good for one more. Find Herbs and Find Minerals show nodes on the minimap out to 240 metres, with arrows on the rim pointing to the nearest.

Professions in the wiki
An Embersteel Pick
An Embersteel Pick
Cutting Saltbloom with a sickle
Skinning a Meadow Boar
Smelting at the anvil
The Saltreach Derby
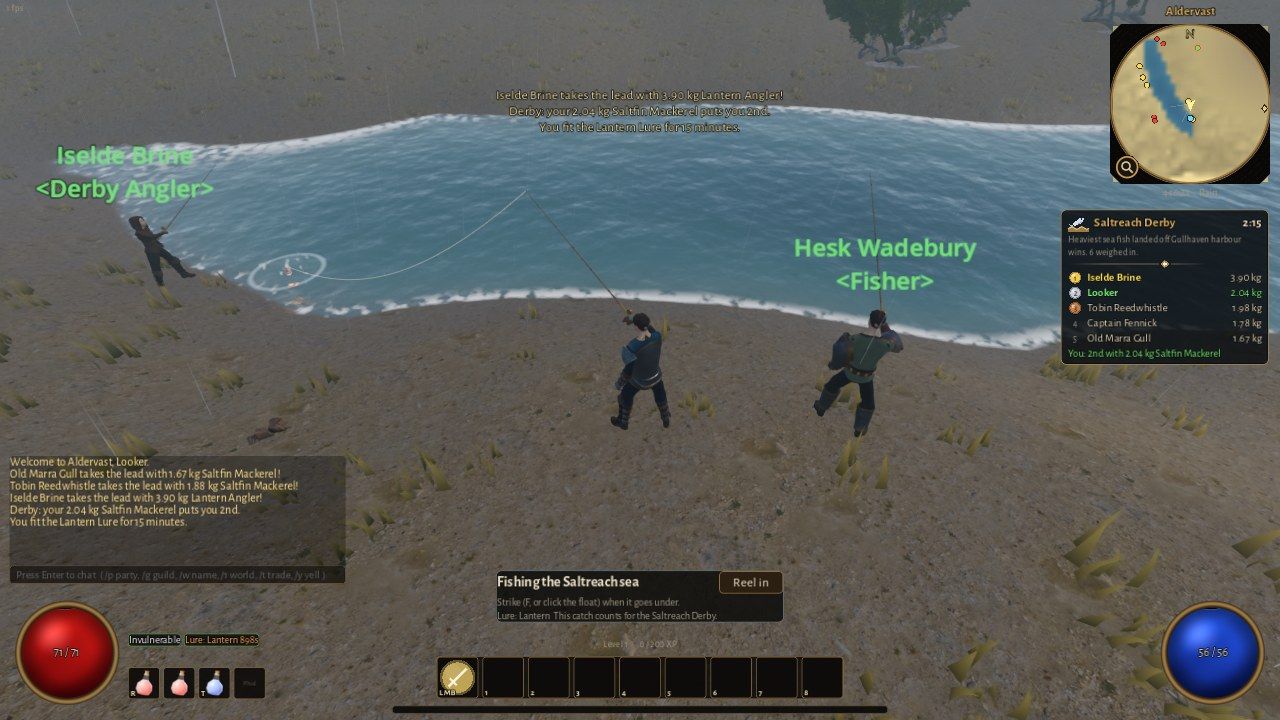
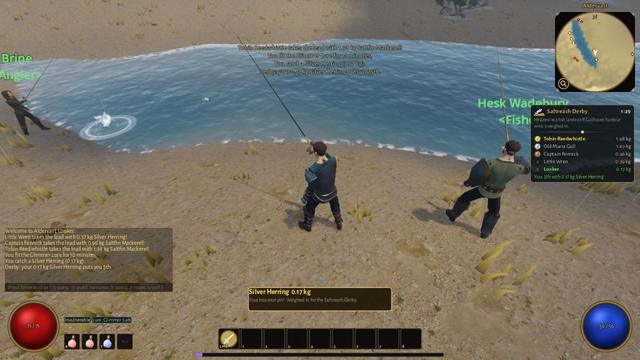
Rival anglers on the shore and the live board under the minimap.
The Saltreach Derby

A fishing contest every half hour

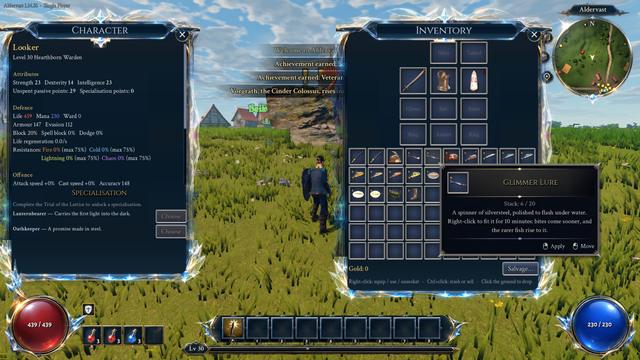
Every fish is weighed when you land it, from a herring of a few hundred grams to a Frostgill Pike of up to nine kilograms, and your heaviest of each kind is kept as a record. Nightcrawlers from the fishers bring bites sooner; Glimmer and Lantern Lures, which smiths forge from silversteel and embersteel, make the rarer fish of each water more likely, and a Lantern Lure brings bigger fish and more sunken coffers.

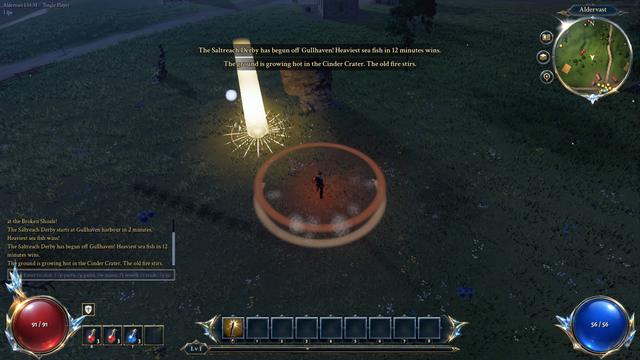
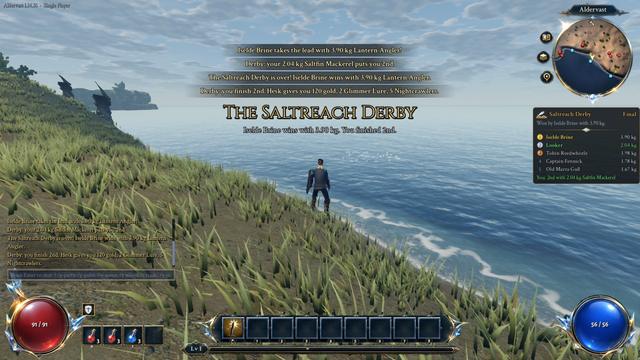
Every half hour Hesk Wadebury runs the Saltreach Derby off Gullhaven harbour. For twelve minutes the heaviest sea fish landed near the harbour leads, with five anglers of the town fishing it from the shore and a live board under the minimap. The winner takes 250 gold, the Saltreach Derby Trophy and two Lantern Lures, and the first time, Hesk's Prize Rod, on which fish bite a quarter sooner.

The Derby in the wiki
A weigh-in
A weigh-in
The final board
The final board
A Lantern Lure
A Lantern Lure
The Silverrun
The Silverrun
Restyled at the Outfitter
Outfitters in Harrowford and Gullhaven.
The Wardrobe

Look the way you want

Every piece you wear adds its look to a collection shared by all your characters. Odette Fairweave in Harrowford and Corin Dyewright in Gullhaven can restyle a worn item as any look you have collected, hide a piece altogether, or save whole outfits.

Ways to play

Alone, with friends, or on a server

All three run the same server code, so the game plays the same however you start it.

Single Player

The server runs inside the game. No connection or account server is needed, and your characters are saved locally. The game's name shows the moment it starts, and the menu can be used, and stays smooth, while Harrowford is still being built behind it. That view of the town is the world you step into, and the ground around your hero is made ready while you choose a character, so getting in is quick.

Host

Start a game on your own machine and let friends join it over the network.

Dedicated server

A headless server for Windows or Linux that keeps the world running for everyone who connects. It guards its logins against floods and password guessing, and writes a health line to its log every hour. Its admins, an account marked "admin": true or one named with the --admins=Name,Name launch option, can use the test commands in chat.

Under the hood

How it is built

Aldervast is made in Godot 4.7 with GDScript. One authoritative server simulates the world: clients draw it, predict their own movement and send what they want to do. Every class, skill, item, monster, quest and dungeon is data rather than code, which is also how this site's wiki is generated.
Each release is checked by unit tests for the rules, simulated players on an in-process server, a smoke test that drives the real client, and a networked test with a dedicated server and two bot clients. Graphics settings, anti-aliasing among them, tune themselves on first play, and a built-in benchmark reports frame times.

Models, textures and sounds are CC0 (KayKit, Quaternius, Poly Haven, ambientCG, OpenGameArt contributors) and the fonts are under the Open Font License. Many models are built from those sources by scripts in the project, and every item icon is rendered from the game's own models the same way. See credits and licences.