The new-player guide step by step, How to play's topics, the one-time tips, the default keys, a few settings, the test commands and running a server.
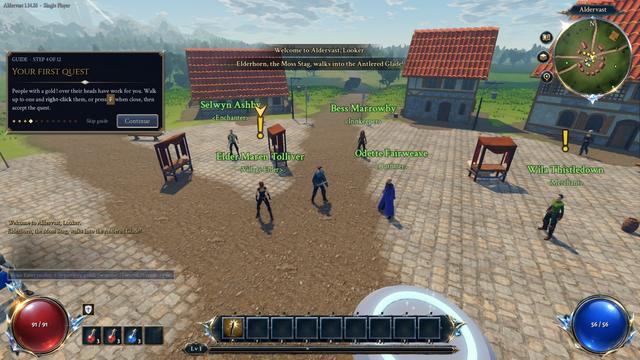
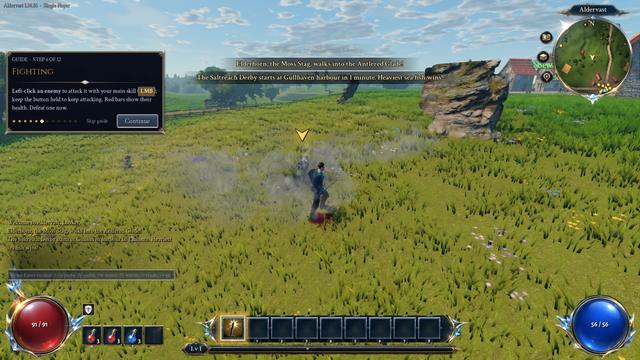
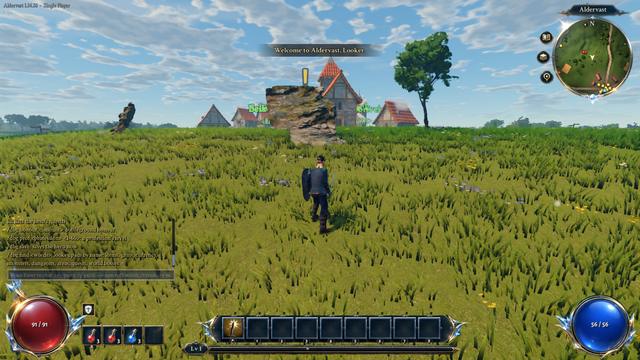
A new character (level 1, with no quest taken yet) is walked through the first steps by a guide on a card at the top left of the screen, which stands aside to the right of any window open there. Each step passes when you do what it asks, or with Continue after a short wait, and the whole guide can be skipped; a step you have already done passes by itself. A gold arrow bobs over whoever the step is about, or sits at the edge of the screen pointing toward them, and the part of the screen the step names glows. The guide keeps its place if you log out.
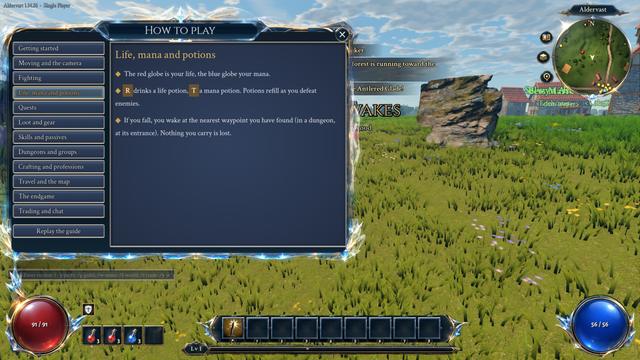
After the guide, and for older characters too, a short tip explains each bigger system the first time it turns up. How to play (F1, or from the menu) explains the game topic by topic and can start the guide again. In Settings, under Gameplay, "Guide and tips" turns both off and "Replay the guide" starts it over. The guide and How to play show your own keys; this page shows the defaults.
The first fights are forgiving. The packs round Harrowford are mostly level 1 or 2 and only two or three strong, and young monsters have less life and hit softer (the Bestiary has the numbers). Out of combat, five seconds after the last blow, a hero gets back a tenth of their life and mana every second, so both are full again in about ten seconds; this does not happen in battlegrounds or duels. A hero who falls rises with full phials.
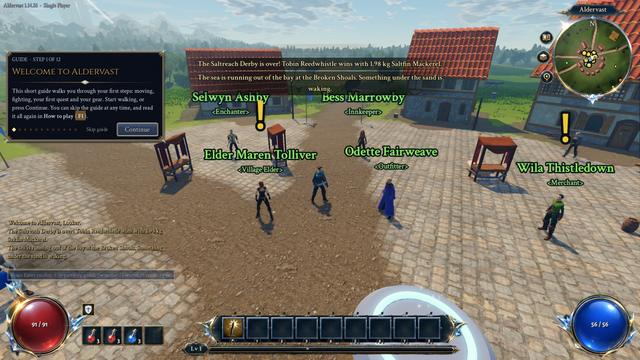
This short guide walks you through your first steps: moving, fighting, your first quest and your gear. Start walking, or press Continue. You can skip the guide at any time, and read it all again in How to play (F1).
Your quests are listed on the right with what each one needs. The arrow points the way. When a quest is done, a gold ? marks who to hand it in to. Press L for your journal.
The skills on your bar are on 1 to 8. Point at an enemy (or the ground) and press the key to use one. Each costs mana, the blue globe, and some have a short cooldown. Open K to choose which skills sit where.
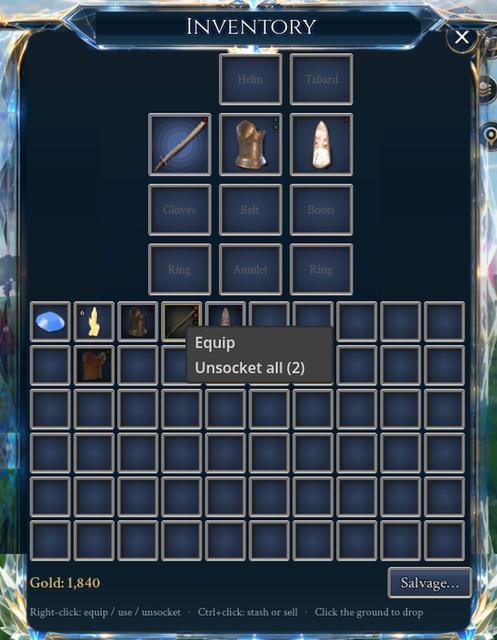
Press I to open your bags. Point at an item to compare it with what you wear (better numbers are green), then right-click it to put it on. C shows your character and stats.
The red globe is your life, the blue one your mana. When you are hurt, press R to drink a life potion and T for mana. They refill as you defeat enemies.
Each level gives you a passive point: spend it on the passive tree (P). New skills come from quests and levels (K). The map (M) shows where you are and the waypoints you have found.
Passes when
You open the passive tree, skills, the map or your character
That's the basics. Follow your quests along the road and the island will open up: dungeons, crafting, riding, groups and much more, each explained the first time you meet it. Press F1 for How to play at any time. Good luck!
Aldervast is an island of roads, towns and ruins. You play one hero: follow the story quests along the road from Harrowford, grow stronger, and the island opens up.
Talk to people with a gold !: they have quests. A gold ? means a quest is ready to hand in.
Your quests are listed on the right of the screen; L opens the full journal.
Defeat enemies, pick up their loot and put on better gear.
Each level gives a passive point (P).
Press F10 or Escape for the menu, F1 for How to play.
New skills come from quests and as you level. Open K to put skills on your bar and link support gems to them.
To take the glyphs out of a piece of gear, worn or in your bags, right-click it and choose Unsocket all.
A glyph that asks for a weapon (Arrow Squall a crossbow) goes in any socket but works only with that weapon in hand: until then your bar dims it and its tip says what it needs.
Each level gives a passive point: open the passive tree with P and take a node next to one you have. Big nodes (keystones) change how you play.
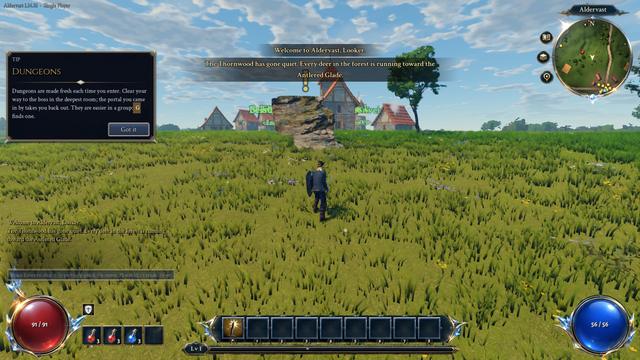
Dungeons are made fresh each time you enter. Clear your way to the boss in the deepest room; the portal you came in by takes you back out. They are easier in a group: G finds one.
Settings, under Gameplay, has a few aids for seeing and reading the game.
UI scale
0.75 to 1.5, on top of the interface's own sizing by the screen's height, which keeps it the same size on every shape of screen. It changes when you let go of the slider. A window too big for the screen is drawn smaller to fit, and above 1.0 windows open in front of the globes
Screen shake
From none to full
Flashing
Reduce flashing dims lightning, bursts of light from spells and the flash of a struck creature to a third
Colour-blind
Corrects the whole picture, world and interface alike, for protanopia, deuteranopia or tritanopia
Markers
High-contrast markers draw quest marks, nameplates and the minimap's pins larger with a solid black edge; quest marks show through walls
Every launch writes a performance report: how long the start took on this PC and how smooth the first minute of play was. If the game stutters, the newest report is the one to send.
What it holds
The PC (processor, memory, graphics card, driver, screen) and the game's settings; how long each step of the start took; and for the title screen's first 30 seconds and the first minute after the first loading screen lifts, each frame's length, the graphics card's time for it, the graphics pipelines the driver built in it, and the longest frames with what was happening in them
Kept
The newest five; older ones are deleted
Where
Settings, under Graphics: Performance reports, Open the folder. On Windows it is %APPDATA%\Godot\app_userdata\Aldervast\reports, on Linux ~/.local/share/godot/app_userdata/Aldervast/reports
Typed in chat, the test commands change a hero straight away: a level, gold, an item, a monster to fight, a jump into a dungeon. /dbg alone lists them all. Each is /dbg, the command, then what it takes, for example /dbg level 30, /dbg gold 5000 or /dbg spawn meadow_boar 20 2. Put an online hero's name at the end to act on them instead of you, as in /dbg gold 5000 Rowan, and both of you are told; a hero who is not online is said to be so, and nothing changes. What the commands change is saved with the hero, just as in play, and an item that does not fit in full bags lands at the hero's feet.
A command written wrong says how it is written, and an id the game does not know says so. /dbg find looks ids up by name: /dbg find boar gives meadow_boar, and /dbg find crypt gives the dungeon hollow_crypt. /dbg quest_ready with no id lists the quests the hero has under way.
/dbg level <1-60>
Sets the hero's level
/dbg xp <amount>
Gives experience
/dbg gold <amount>
Gives gold (a minus amount takes it)
/dbg give <item id> [rarity 0-2]
An item, a gem, a unique (unique:<id>) or currency (<id>:<count>)
/dbg spawn <monster id> [level] [rarity 0-3]
A monster beside the hero
/dbg tp <x> <z>
Moves the hero to that point of the map
/dbg god
Nothing can hurt the hero until they leave the world
/dbg heal
Full life and mana
/dbg kill_near [metres]
Slays the enemies round the hero (10 m or more)
/dbg dungeon <dungeon id>
Straight into a dungeon
/dbg map <area id> [tier] [map mod ids]
Straight into an expedition
/dbg out
Out of a dungeon or expedition, back where they went in
/dbg wb_wake <boss id>
Wakes a world boss (out in the world)
/dbg quest_ready <quest id>
A quest's goals met, ready to hand in (no id: lists the hero's quests)
/dbg quest <quest id>
Takes a quest, whatever comes before it (1.14.36)
/dbg honour <amount>
Battleground honour
/dbg prof <profession> <1-60>
A profession's level
/dbg save
Saves the hero now
/dbg find <words>
Looks up ids by name: items, gems, currency, monsters, dungeons, areas, quests, world bosses
The test commands are for trying things out. On a server they are kept to its admins.
Single Player
Always there
Hosting from the menu
Whoever hosts is an admin of that game
Dedicated server
Only its admins: an account with "admin": true in its file (accounts/<name>.json in the server's data folder, edited while the server is stopped), or one named by the launch option --admins=Name,Name
--allow-debug
Gives them to everyone on the server, so keep it off on a public one
Anyone else
Is told the test commands are only for the server's admins, and nothing changes
The dedicated server is a build without a window, for Windows or Linux, that keeps the world running for everyone who connects. It saves everything when it stops, and tells whoever keeps it how it is doing.
Options
Given after -- on its command line: --port=24650 (the port), --data-dir=<folder> (where accounts and heroes are saved), --max-players=64, --admins=Name,Name (see who can use the test commands), --allow-debug (the test commands for everyone) and --stop-file=<path> (save everything and stop as soon as that file exists)
Status
A line every 30 seconds: heroes on, heroes held after a dropped connection, places open, objects and memory in use, the average and longest tick of those 30 seconds, and messages
Health
Once an hour, and when the server stops, a health line in its log: hours up, heroes on and held, places open, objects, memory, ticks and messages
Log
logs/server.log in the server's user folder (on Linux ~/.local/share/godot/app_userdata/Aldervast/logs/server.log). Past 20 MB it starts over, keeping the one before as server.1.log
On a server, hosted from the menu or dedicated, logins are guarded, so that no one can stall it by logging in over and over or guess passwords for long. Single Player is not affected.
Checks
At most ten passwords a second for the whole server; a player told the server is busy is tried again by the game a moment later
Wrong password
The connection waits a second before its next try, and five wrong ones close it
One address
Twelve wrong passwords from one address in ten minutes make it wait out the ten minutes; the account's own player, from anywhere else, still gets in
New accounts
Five an hour from one address
Time to log in
A connection that has not logged in within a minute is closed
Once you are in the world, a small line in the top-left corner of the screen says which version of the game you are running and where you are playing. The frames-a-second counter, when it is on in Settings, sits just under it.
Single Player
Aldervast 1.14.40 · Single Player
Hosting
Aldervast 1.14.40 · Hosting on port 24650
Online
Aldervast 1.14.40 · Online at <address>:<port> (server 1.14.40)
Not the same
When the server you joined runs another version than your game, the line turns amber: some things may not work until both match
Older servers
A server older than 1.14.34 does not say its version, so the line reads “server version unknown” until it is updated